Add a character
Description: Create a character, enter its details, and assign a portrait.
Characters represent people who speak in dialogues, participate in quests, or appear in your game world. This tutorial creates a character and adds a portrait from Narratyr's included image library.
Tutorial project. Download the project to follow these
steps. Open add_character to begin. The add_character_final project contains the completed
result.
Open the entity view
The Characters & Items view contains people, items, props, and other project entities. Select its icon in the left sidebar or press ⌥1.
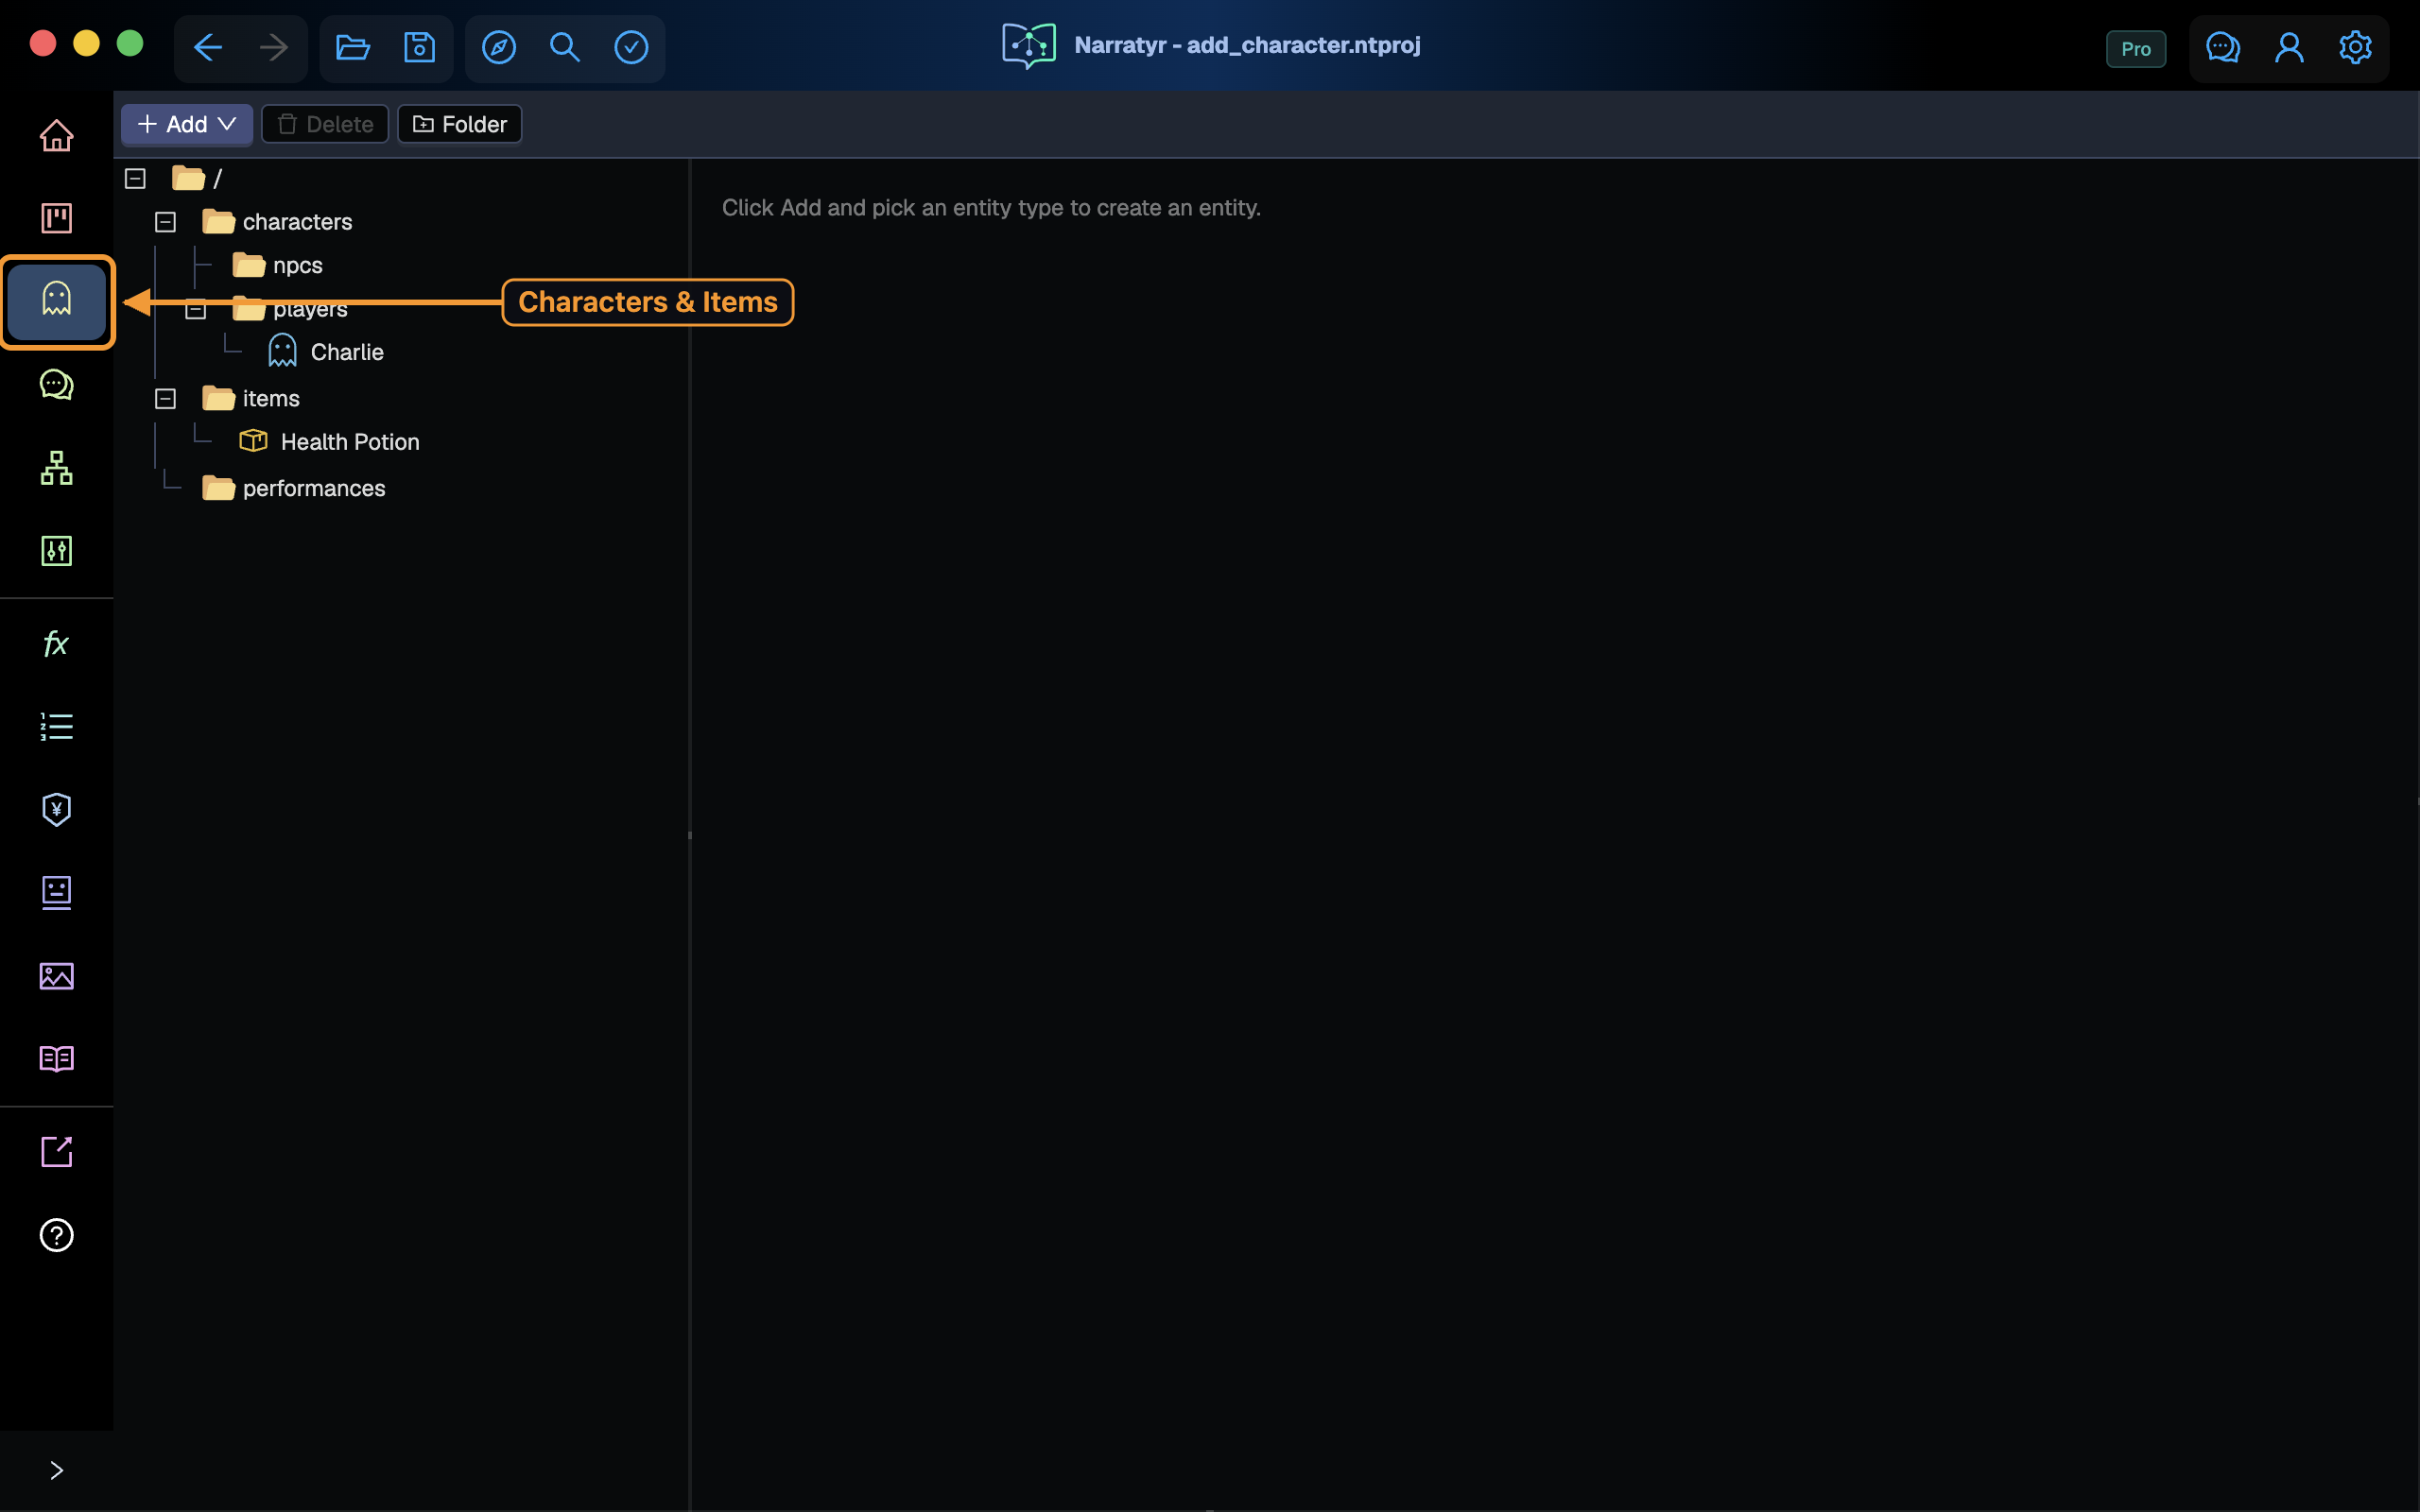
The left panel displays folders and entities. The right panel displays the selected item.
Select a folder
This project stores its characters in characters/npcs. Select that folder in the tree.
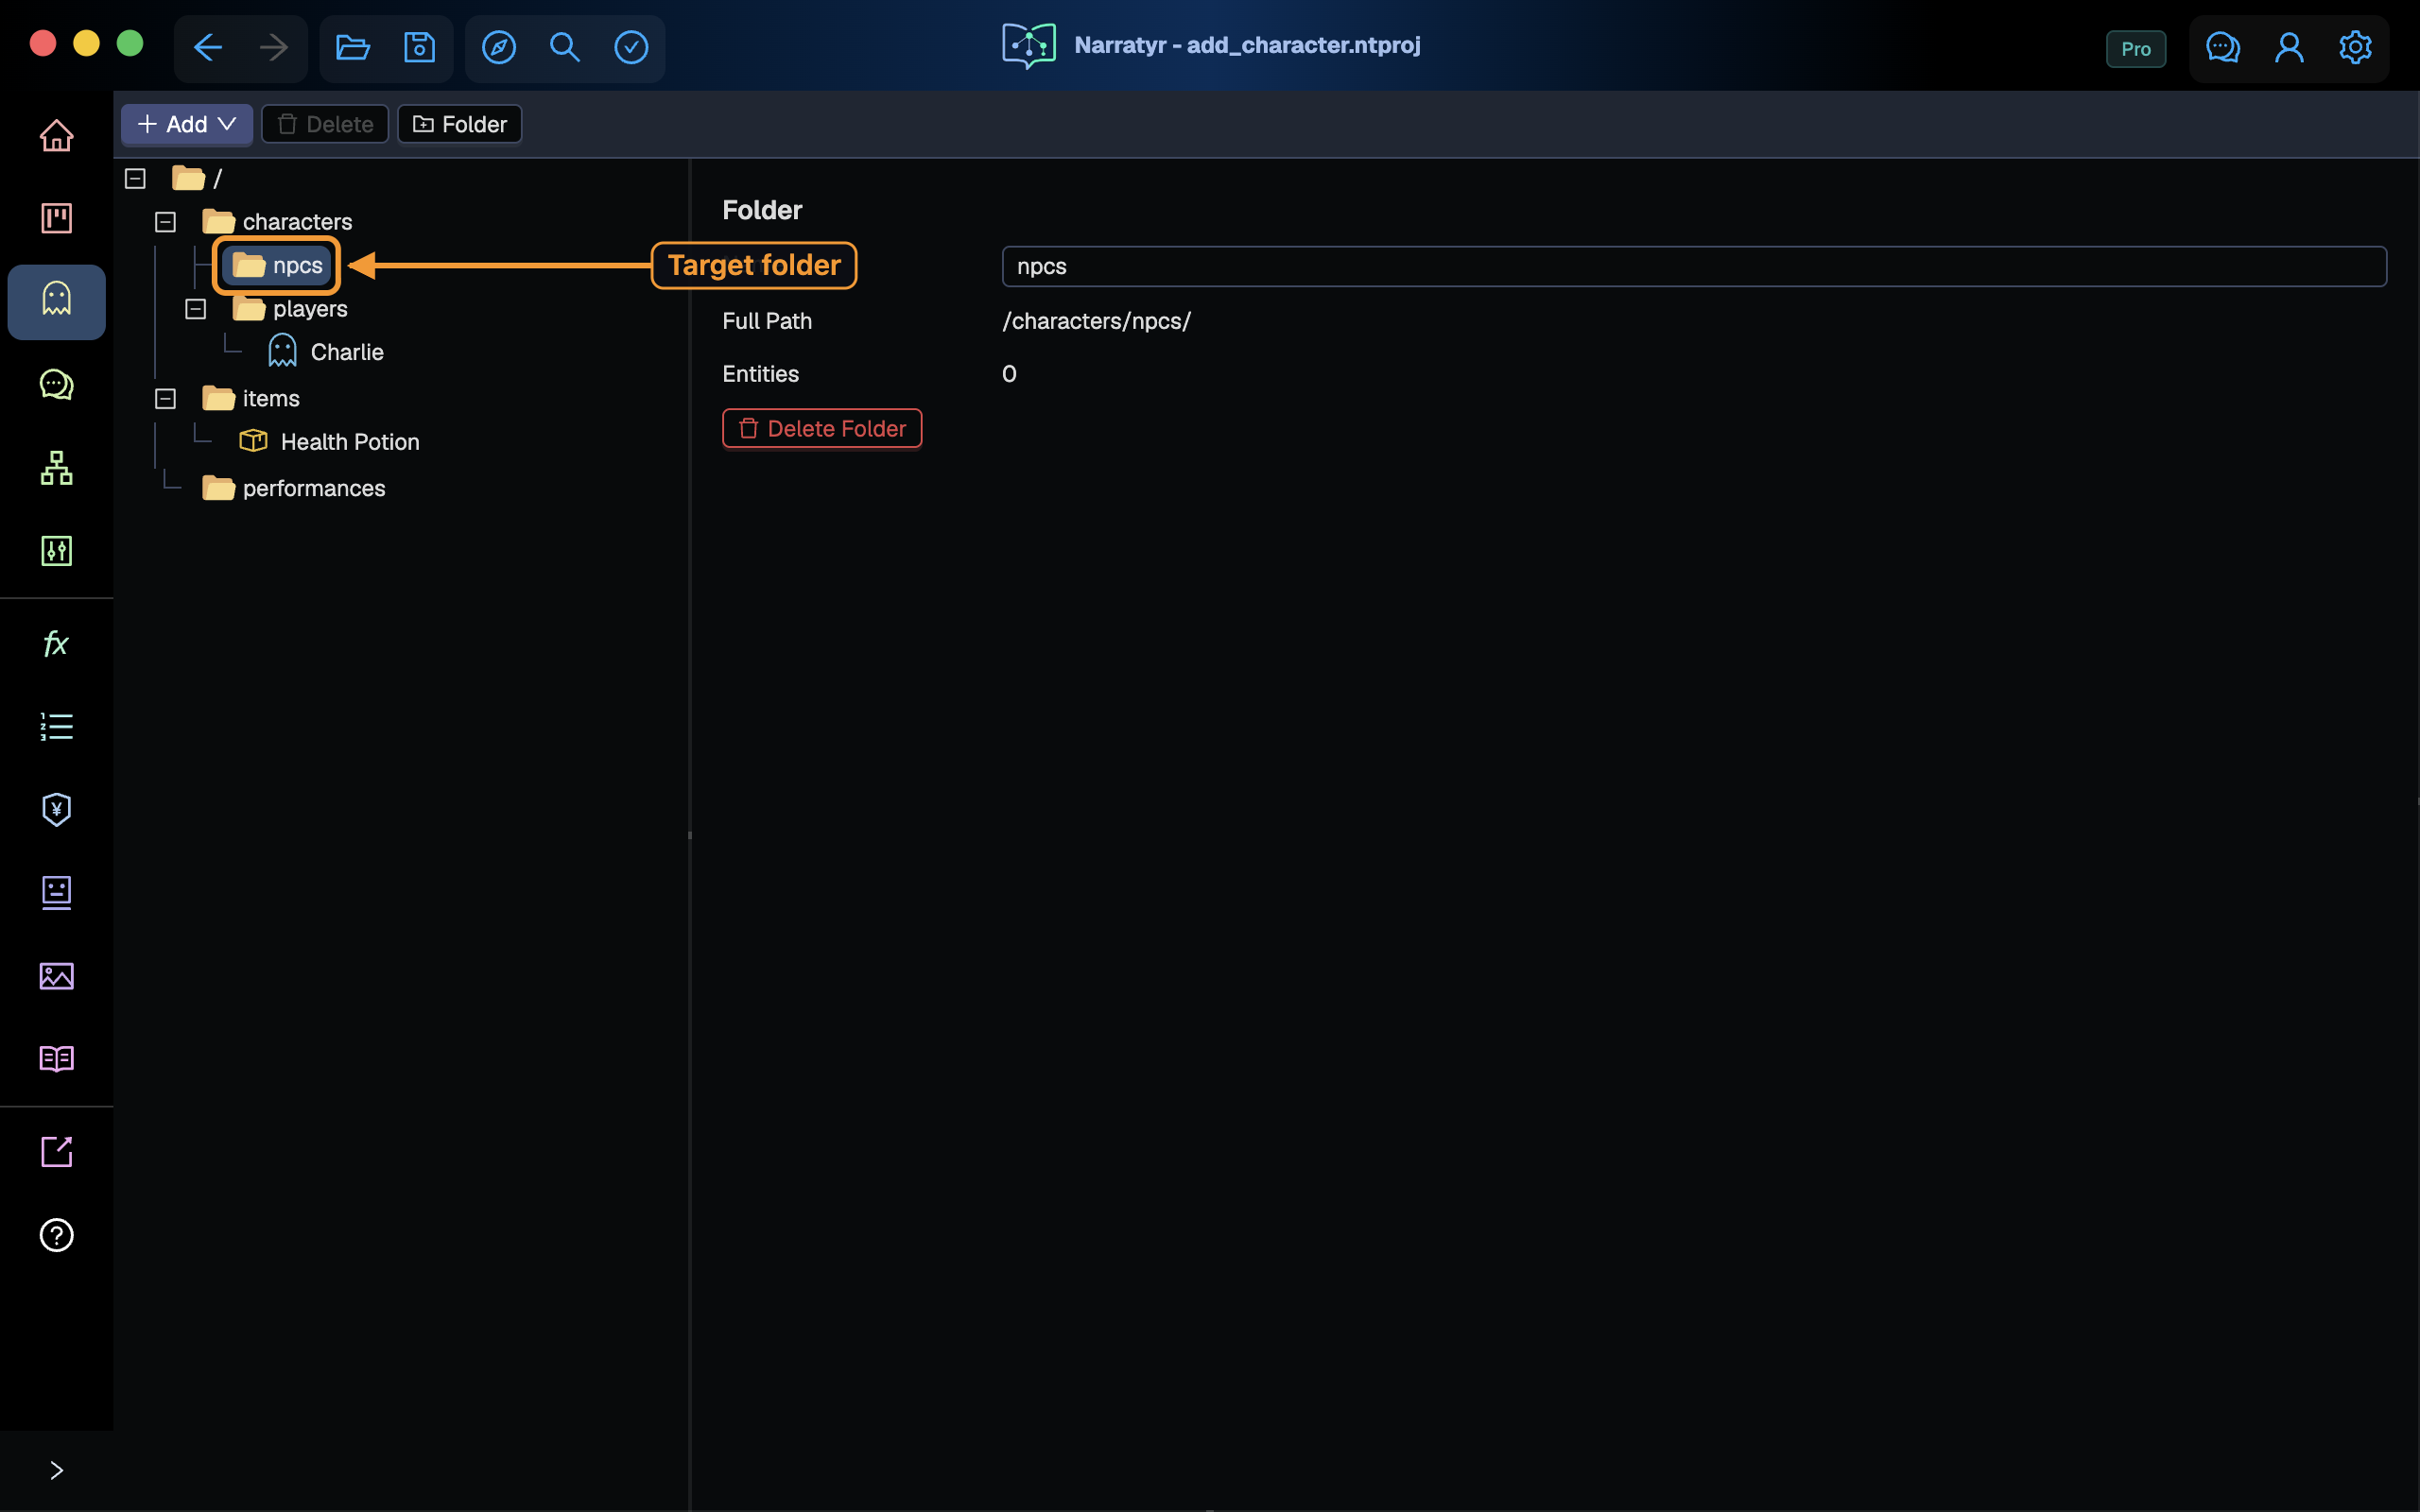
Selecting a folder before creating an entity places the new character there. The details panel shows the full folder path and its current number of entities.
Create the character
Select Add in the toolbar, then choose Character.
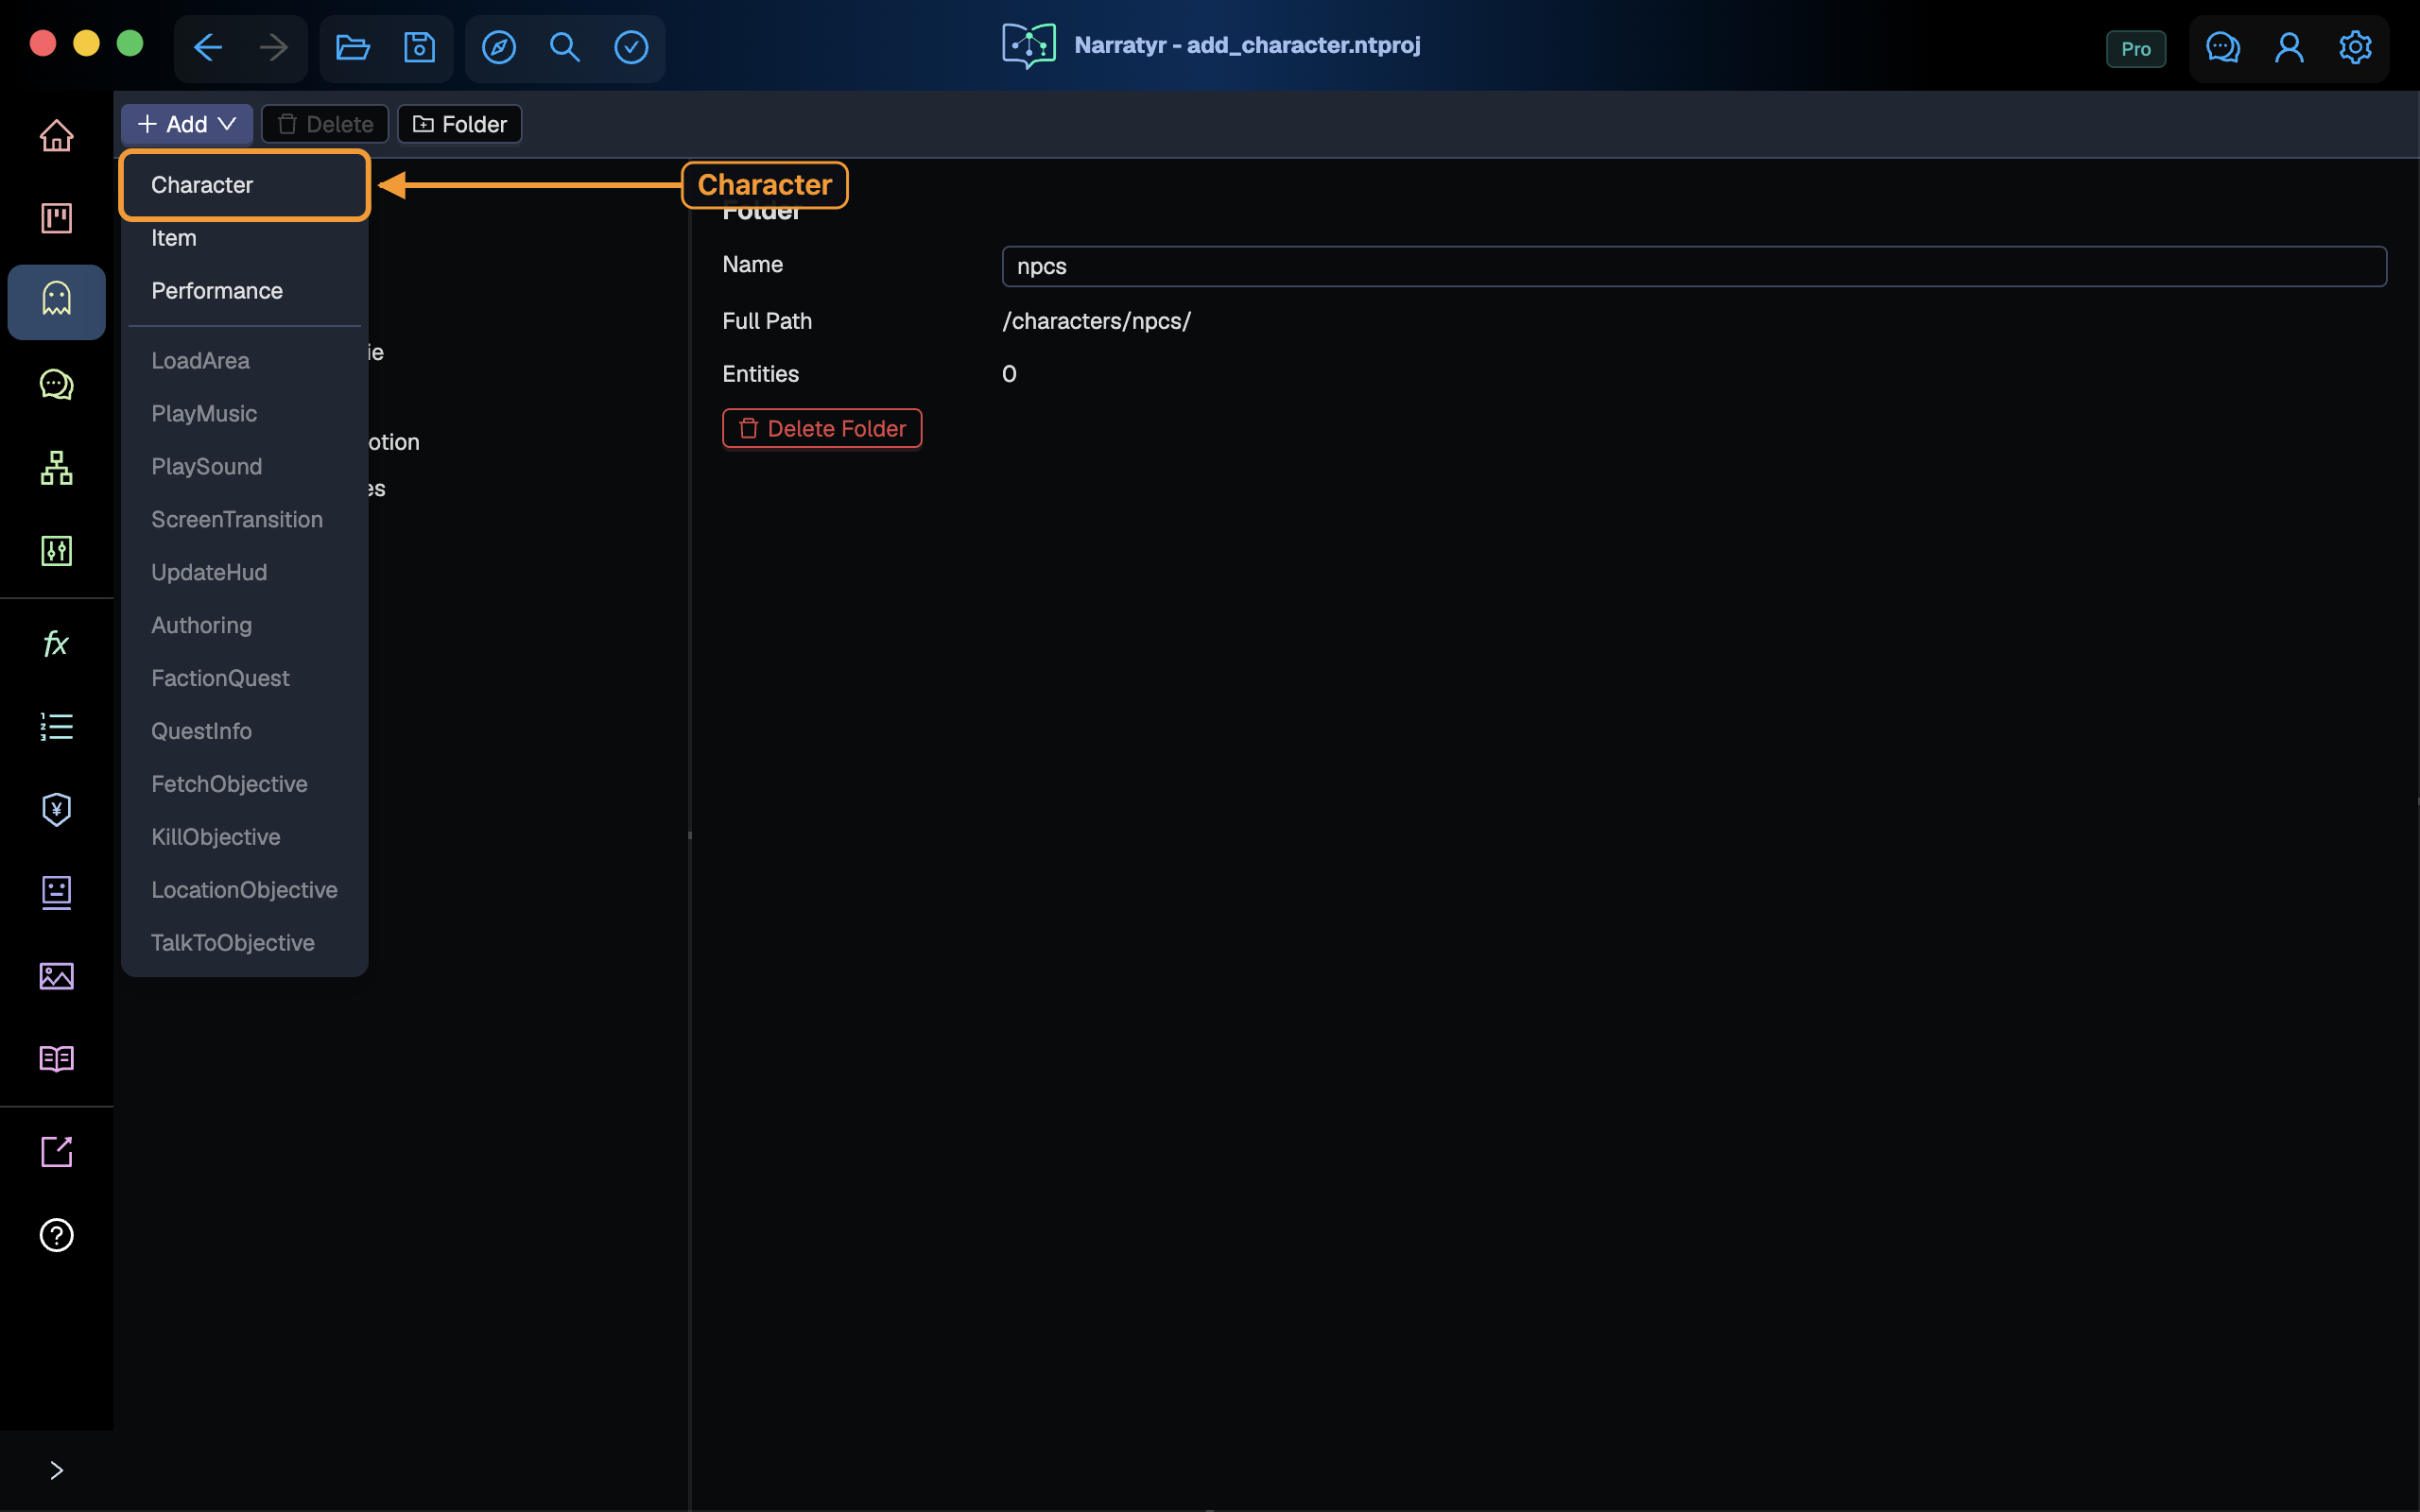
The menu lists the entity types available in the project. Character, Item, and Performance are primary types. Supporting types for quests and graph data appear below them as unavailable choices.
Narratyr adds and selects the new character.
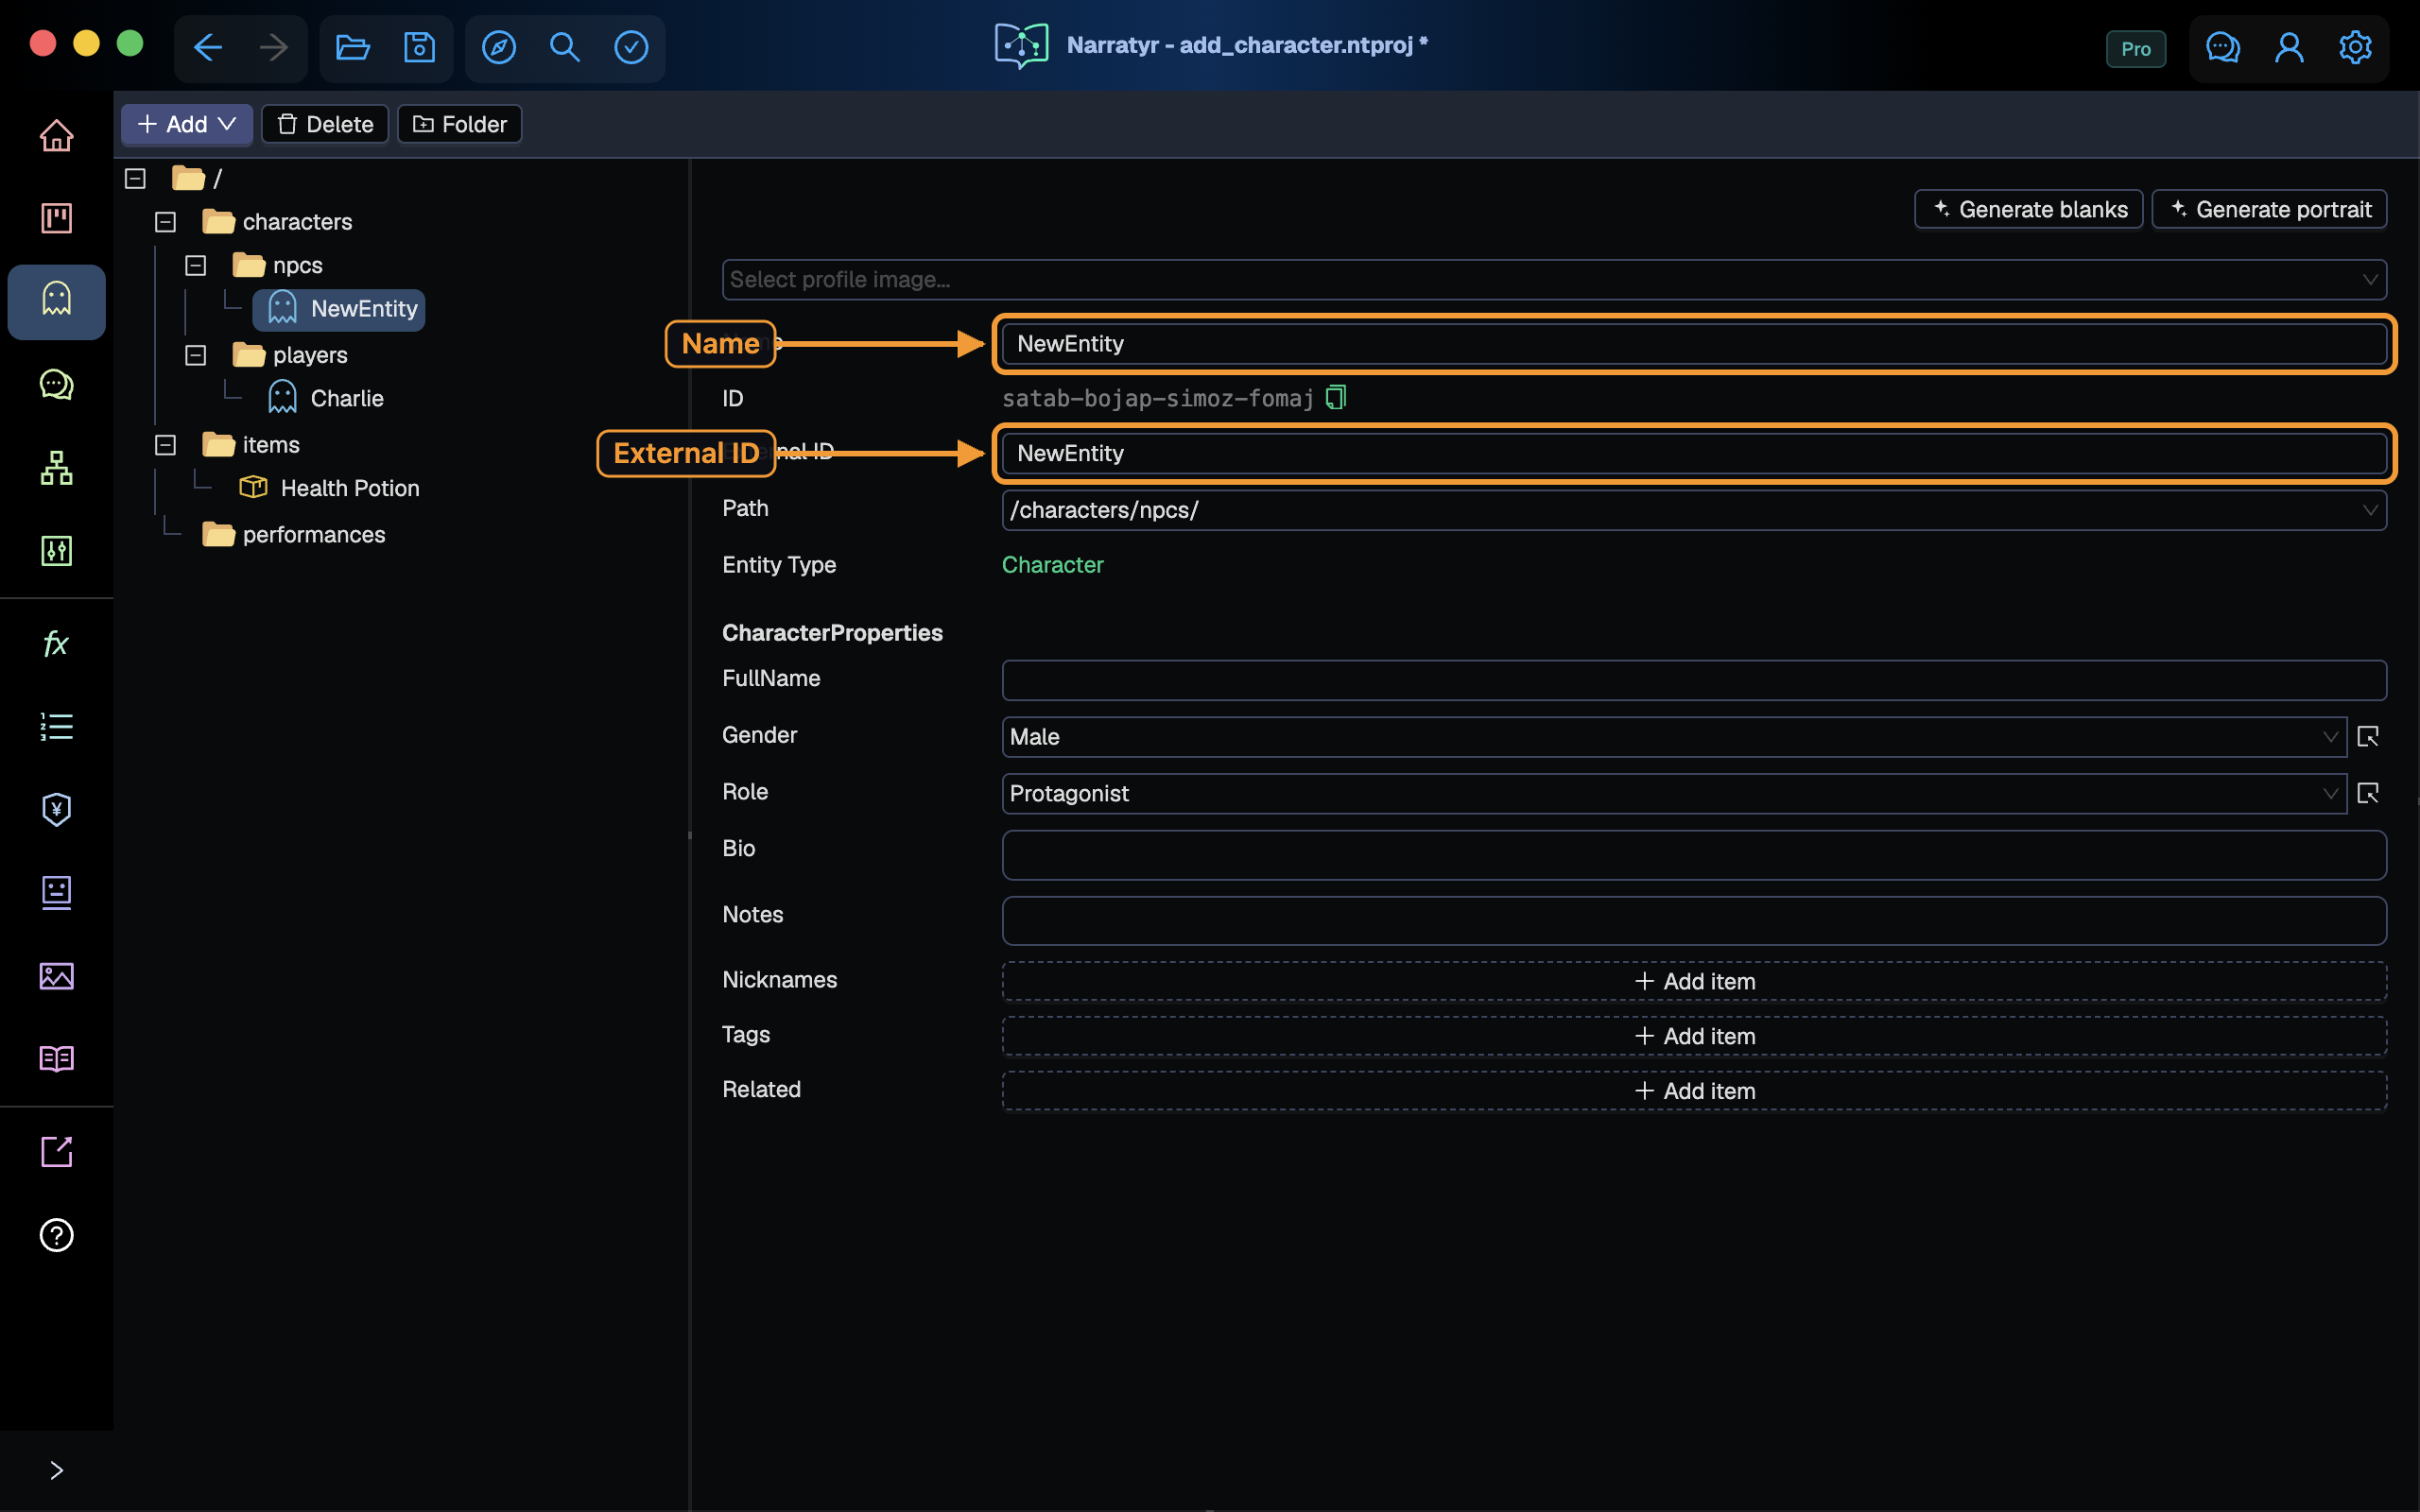
Enter these values first:
- Name: the label shown throughout the editor. It must be unique in the project.
- External ID: the identifier used by your game code. Use letters, numbers, and underscore characters without spaces. The External ID doesn't change when you rename the character, so treat it as permanent after game code starts using it.
Narratyr assigns the read-only ID between those fields. This stable value connects the character to dialogues, quests, and other entities, so renaming the character doesn't break those references.
Enter character details
The Character Properties section contains fields from the project's Character type. These are just defaults, you can add, remove or modify these fields to suite your projects needs.
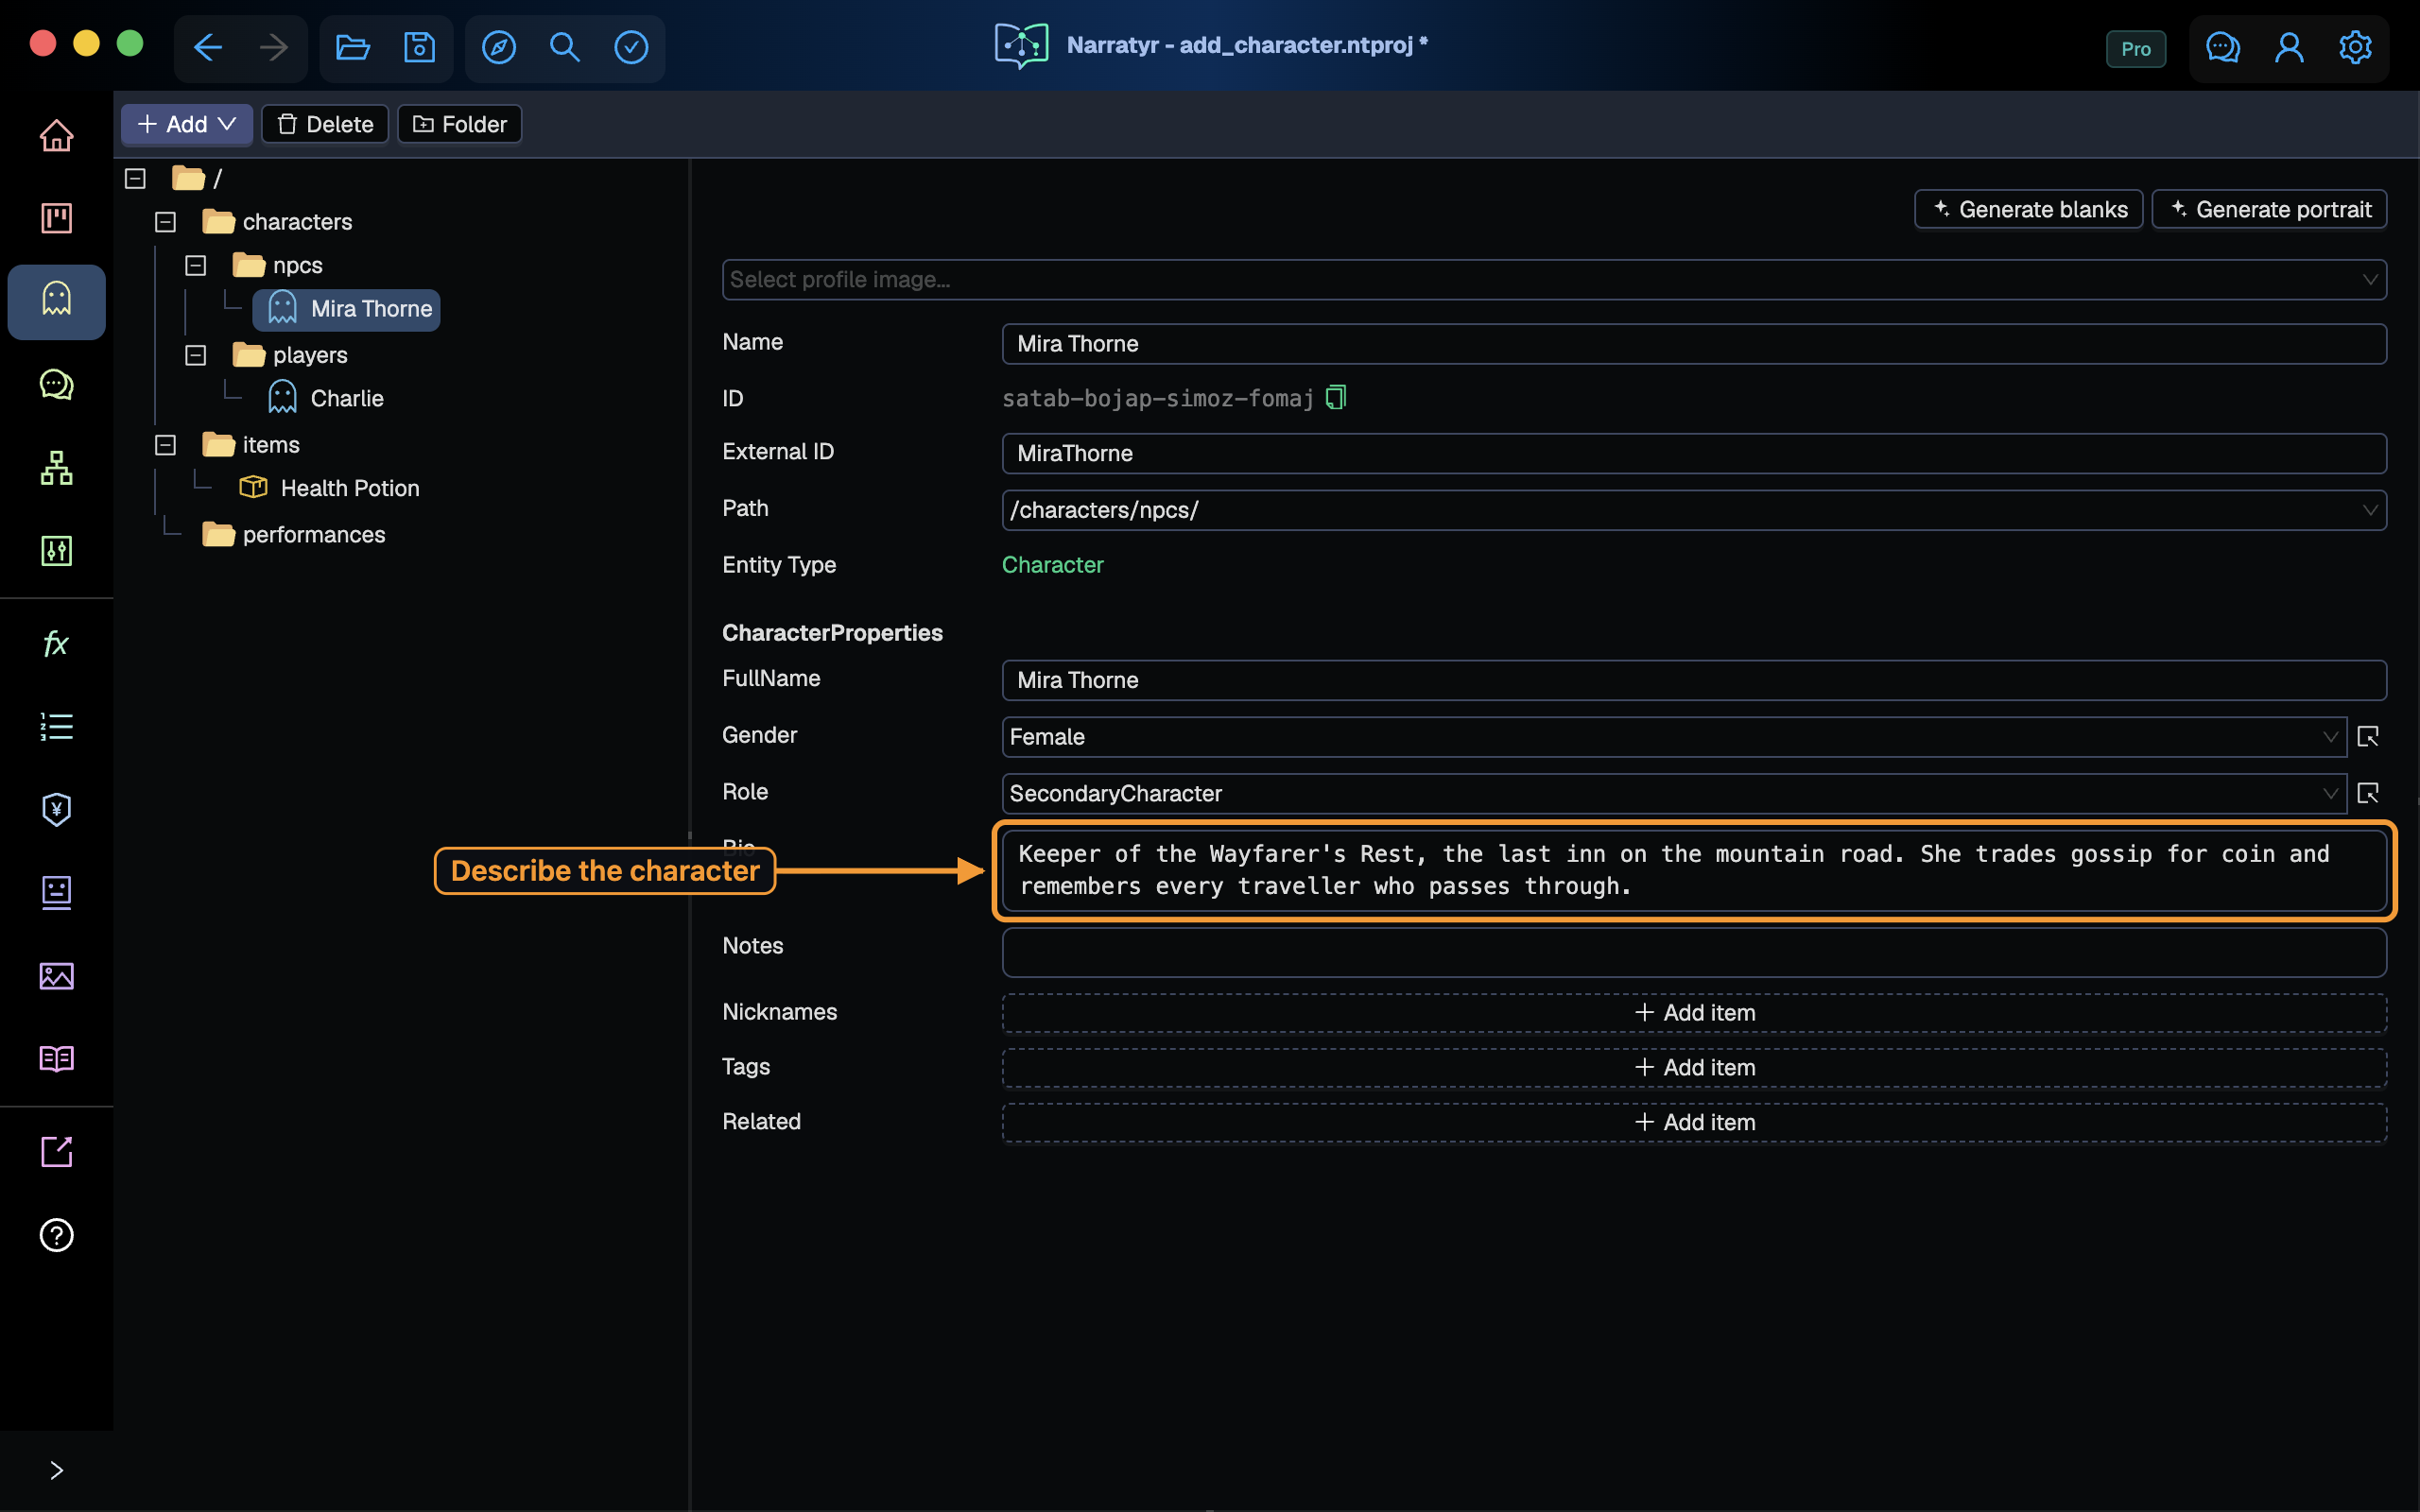
- FullName, Gender and Role are ordinary property fields. Gender and Role are enumerations by default, so they offer a fixed set of choices, but you can customize the options provided however you wish or completely redefine the fields.
- Bio and Notes are free text. Bio is the description your game reads; Notes are for you.
- Nicknames, Tags and Related are lists. Click Add item to append to them.
Note that if you choose to use generative AI features, these fields can be useful to whatever LLM you end up using. If you don't use generative AI, these can be useful to your fellow humans!
Import a portrait
The profile image must exist in the project before you can select it. Open the Assets view with ⌥9 or the picture icon in the sidebar. Select Add, then Stock Image.
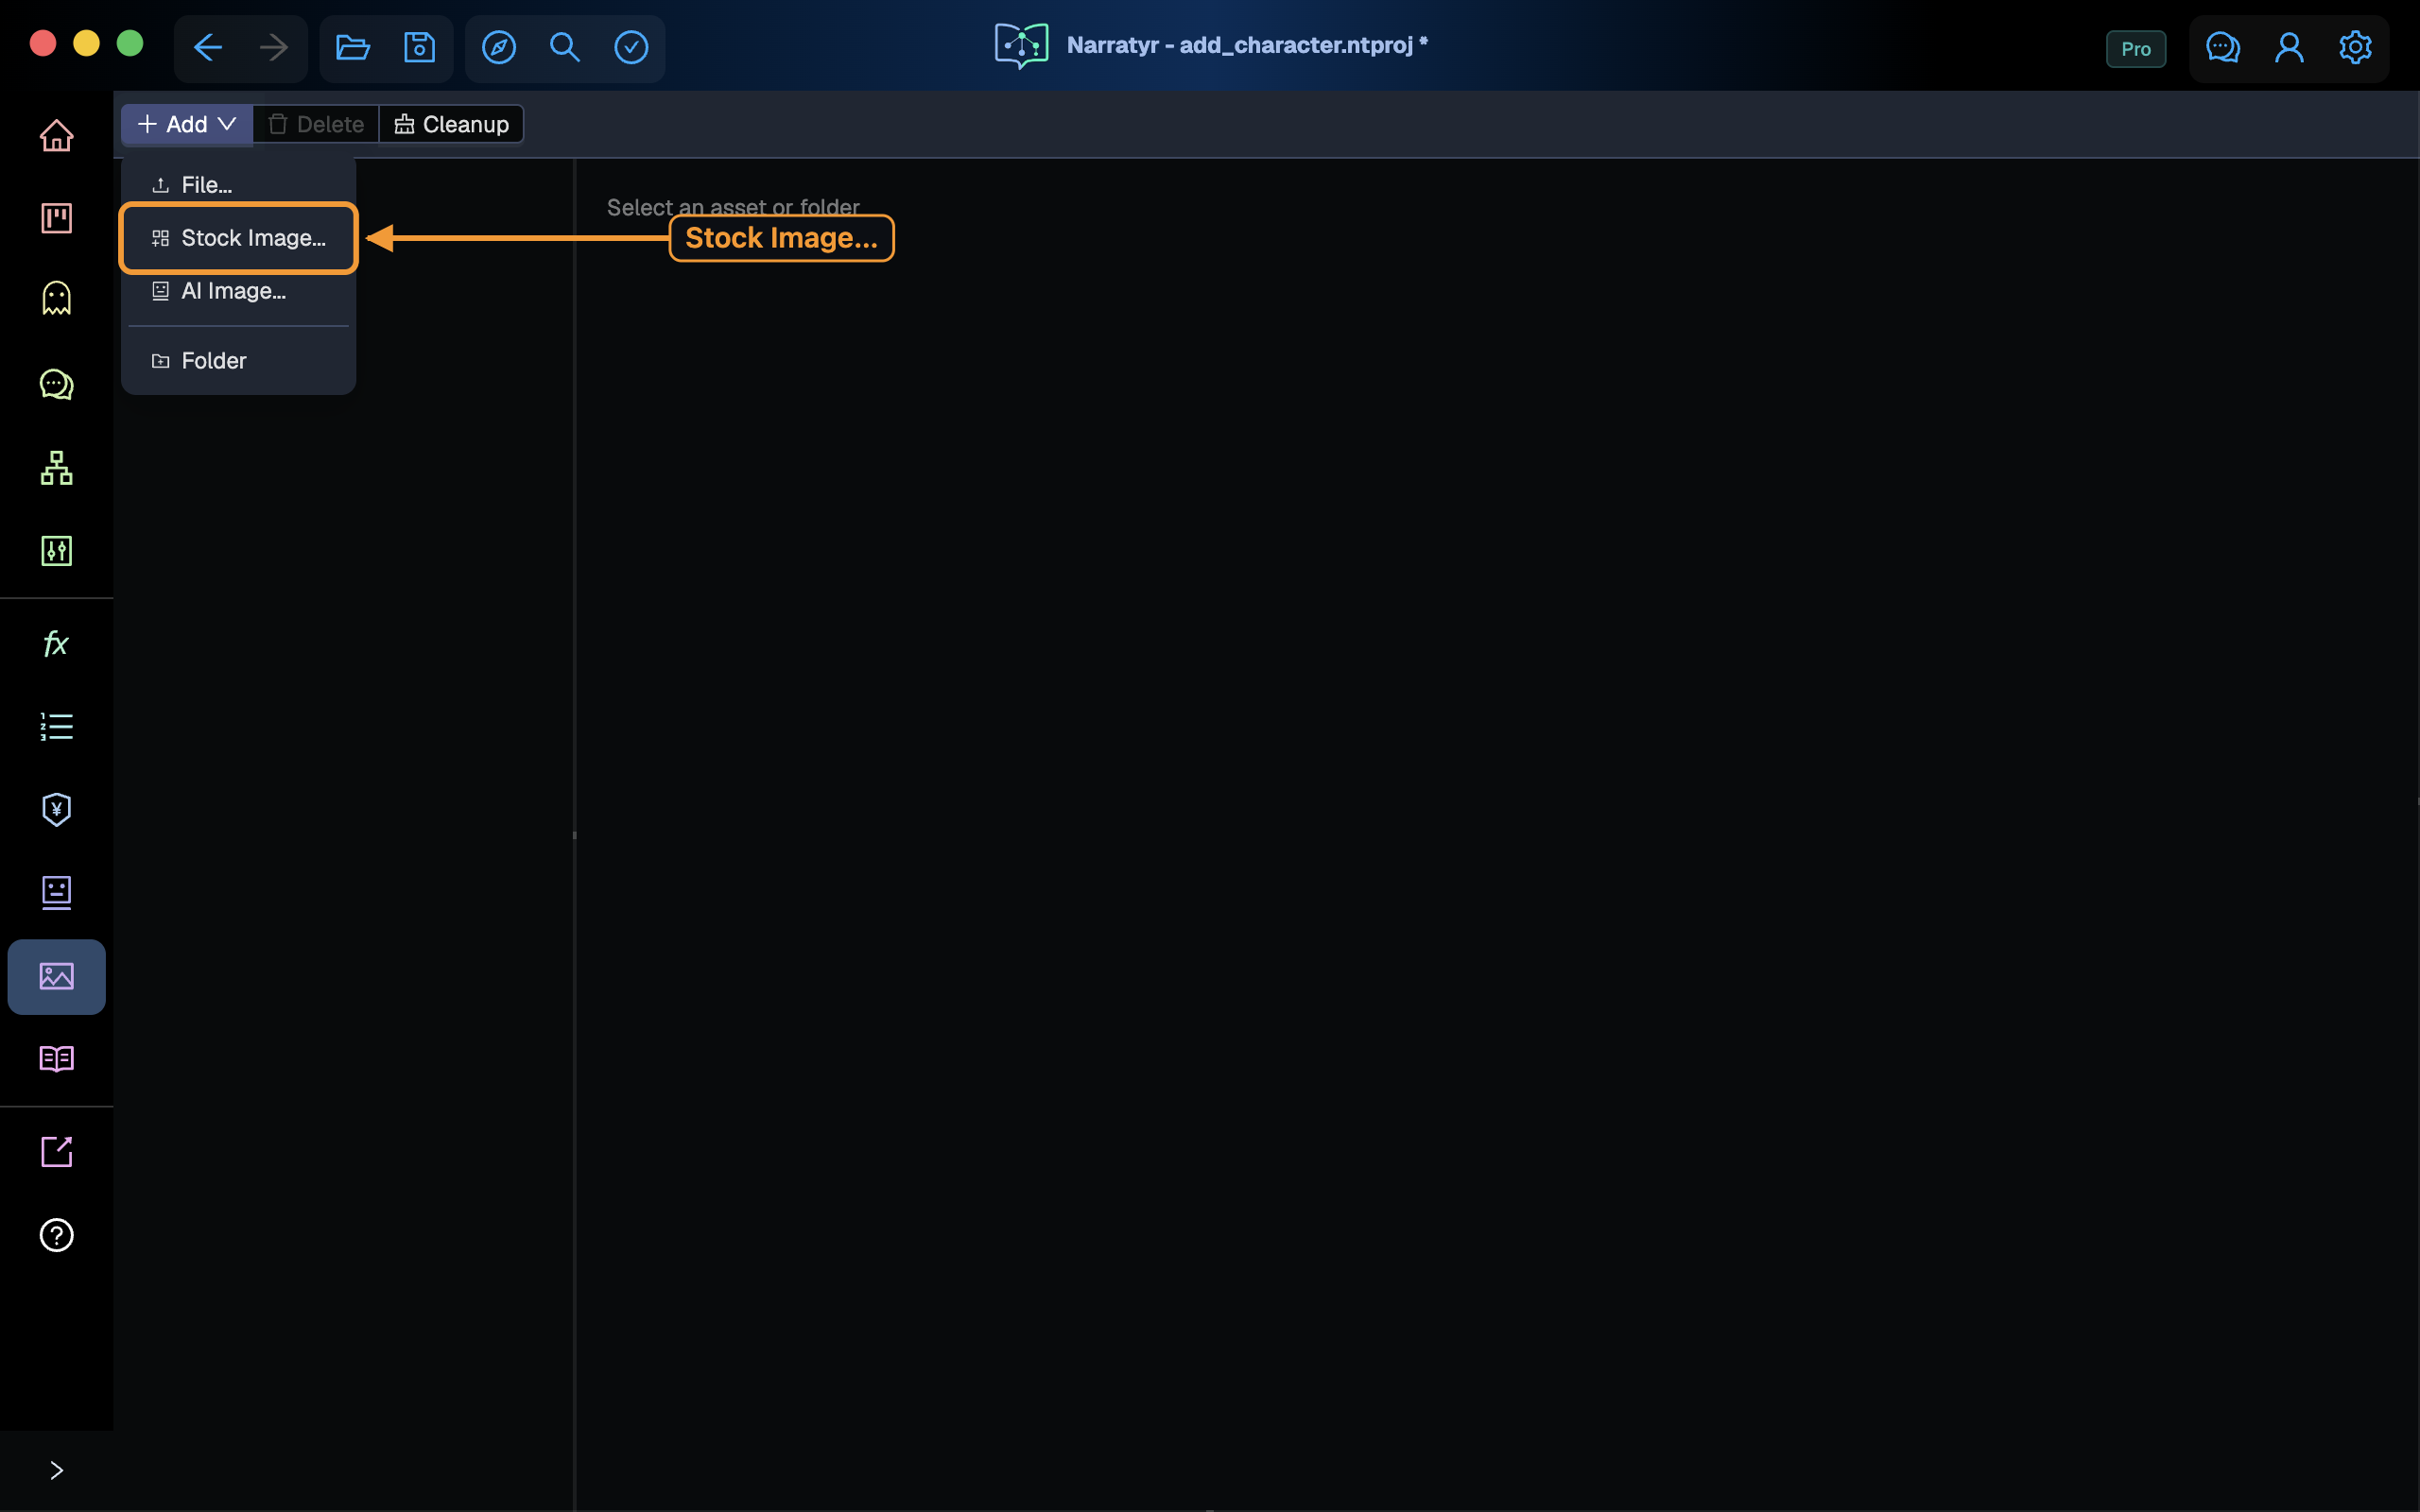
Select an image from Narratyr's included character art. This tutorial uses
avatars/female-2.png. Select Import.
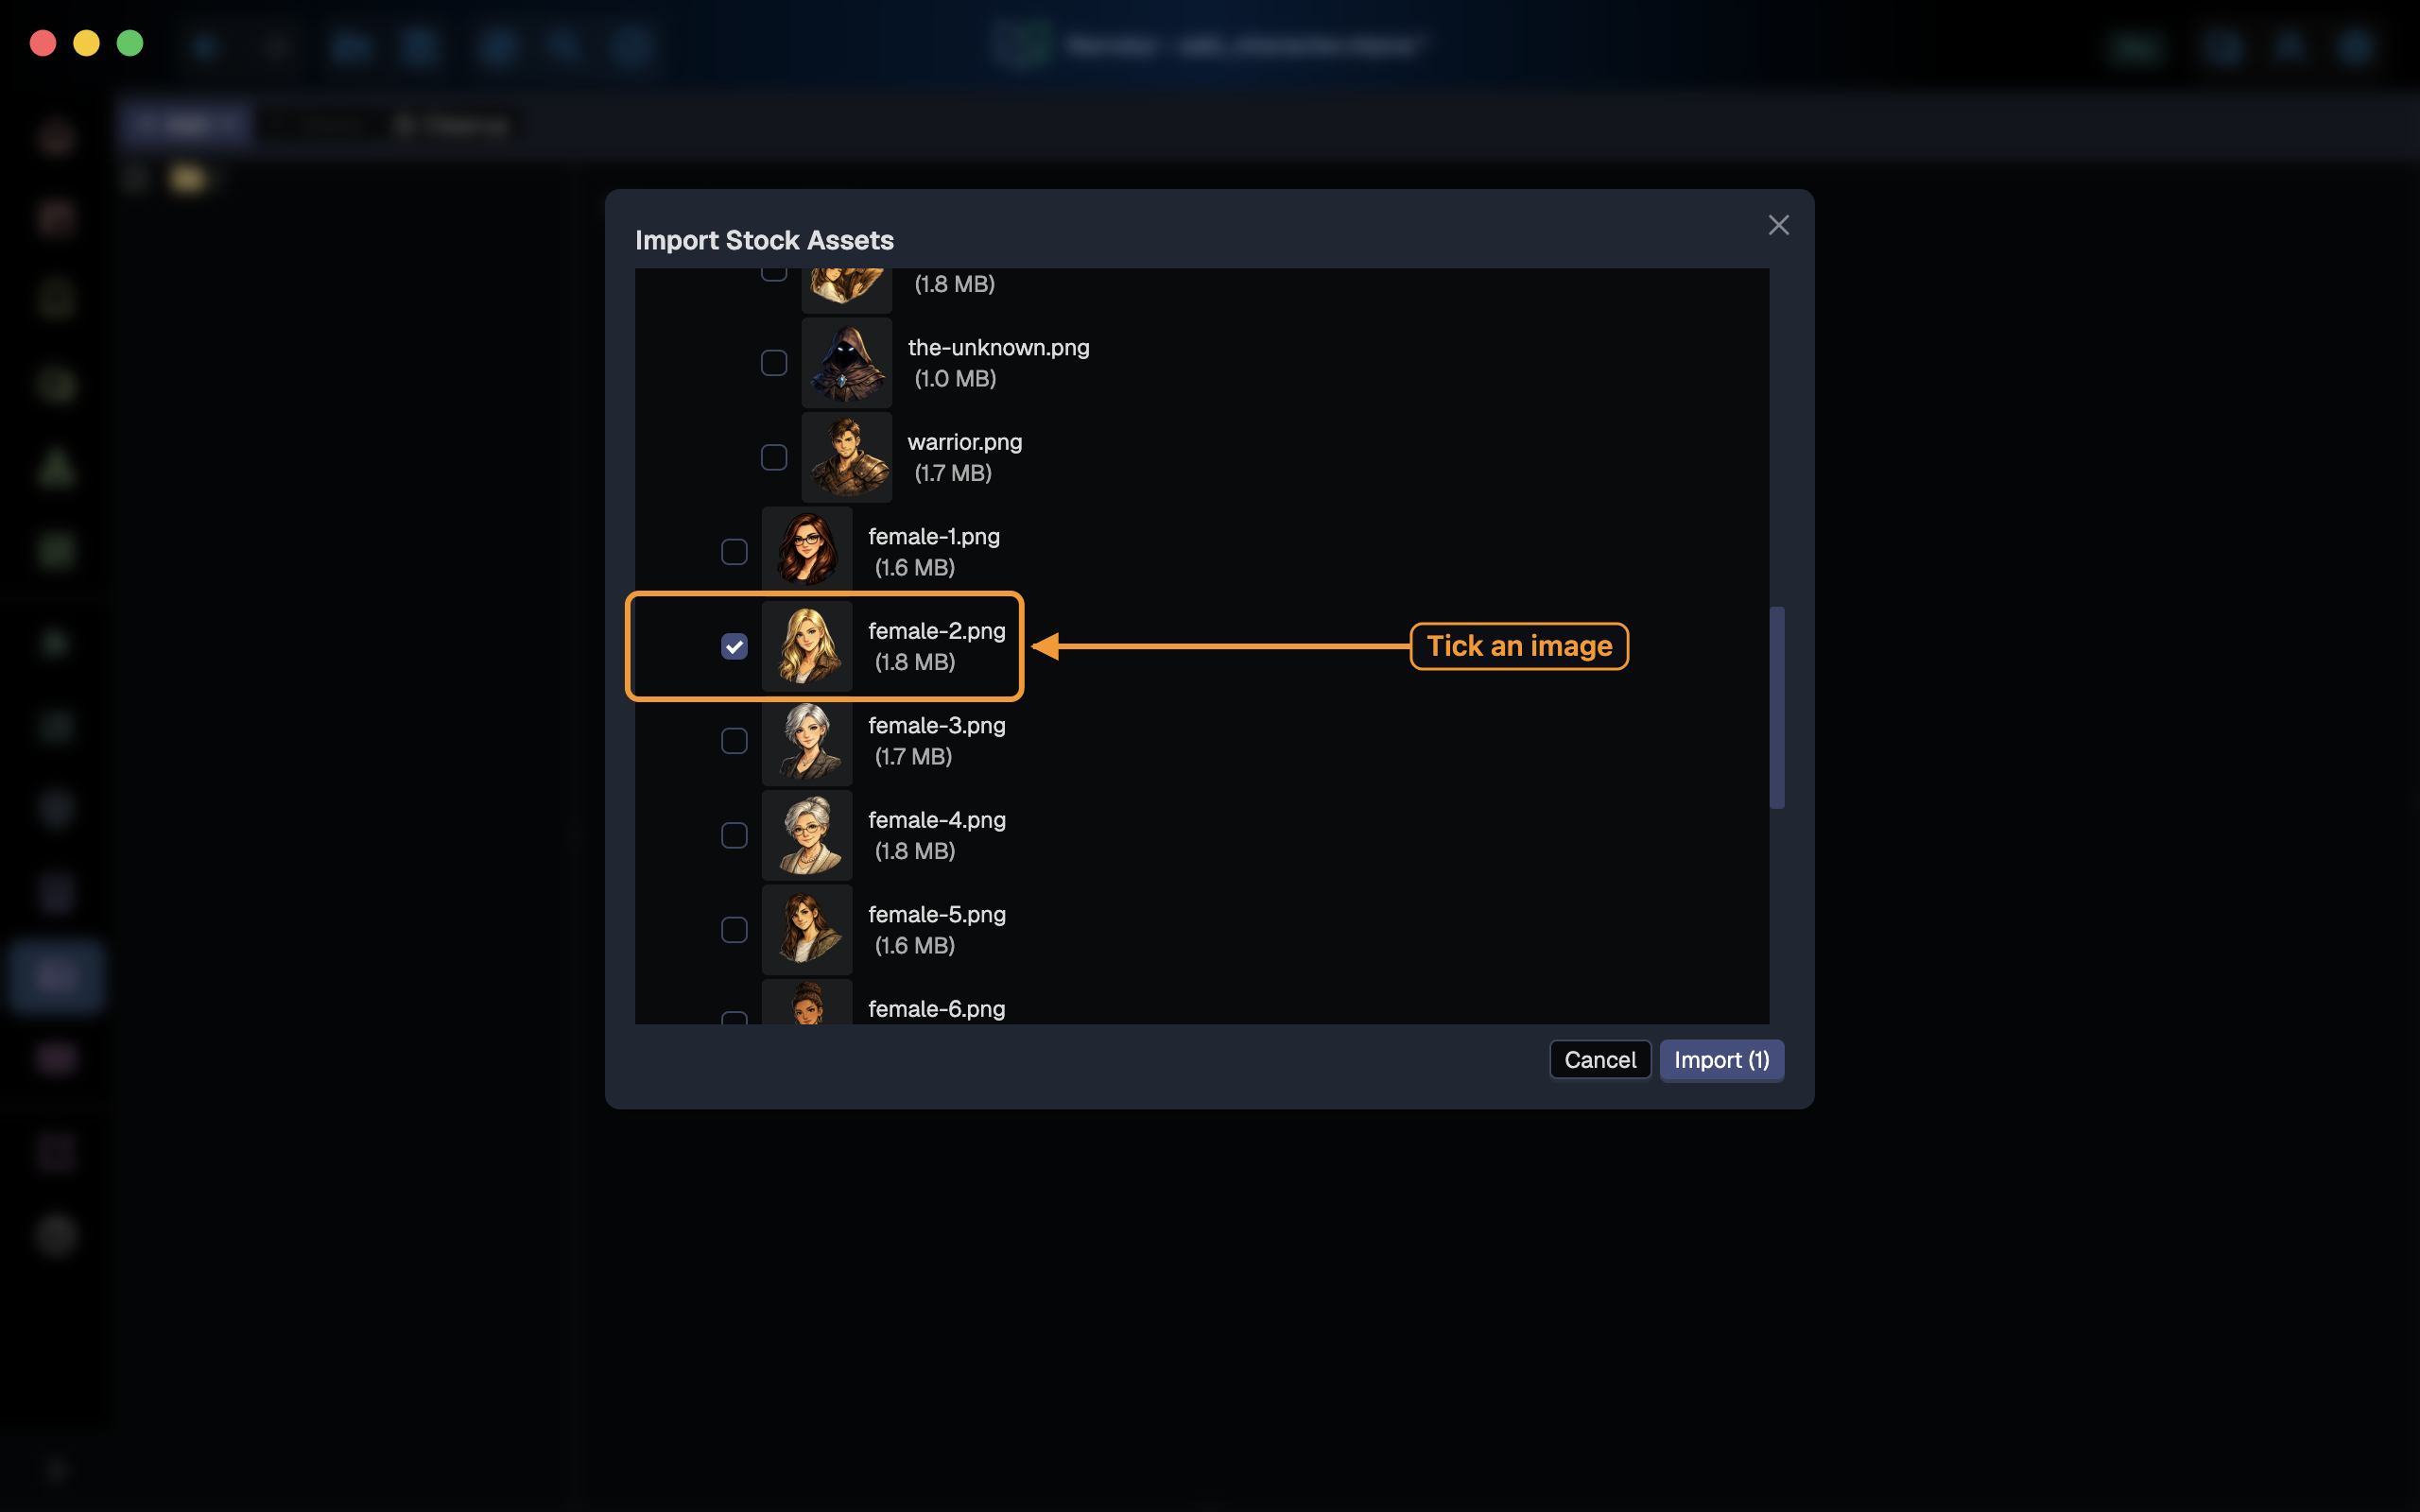
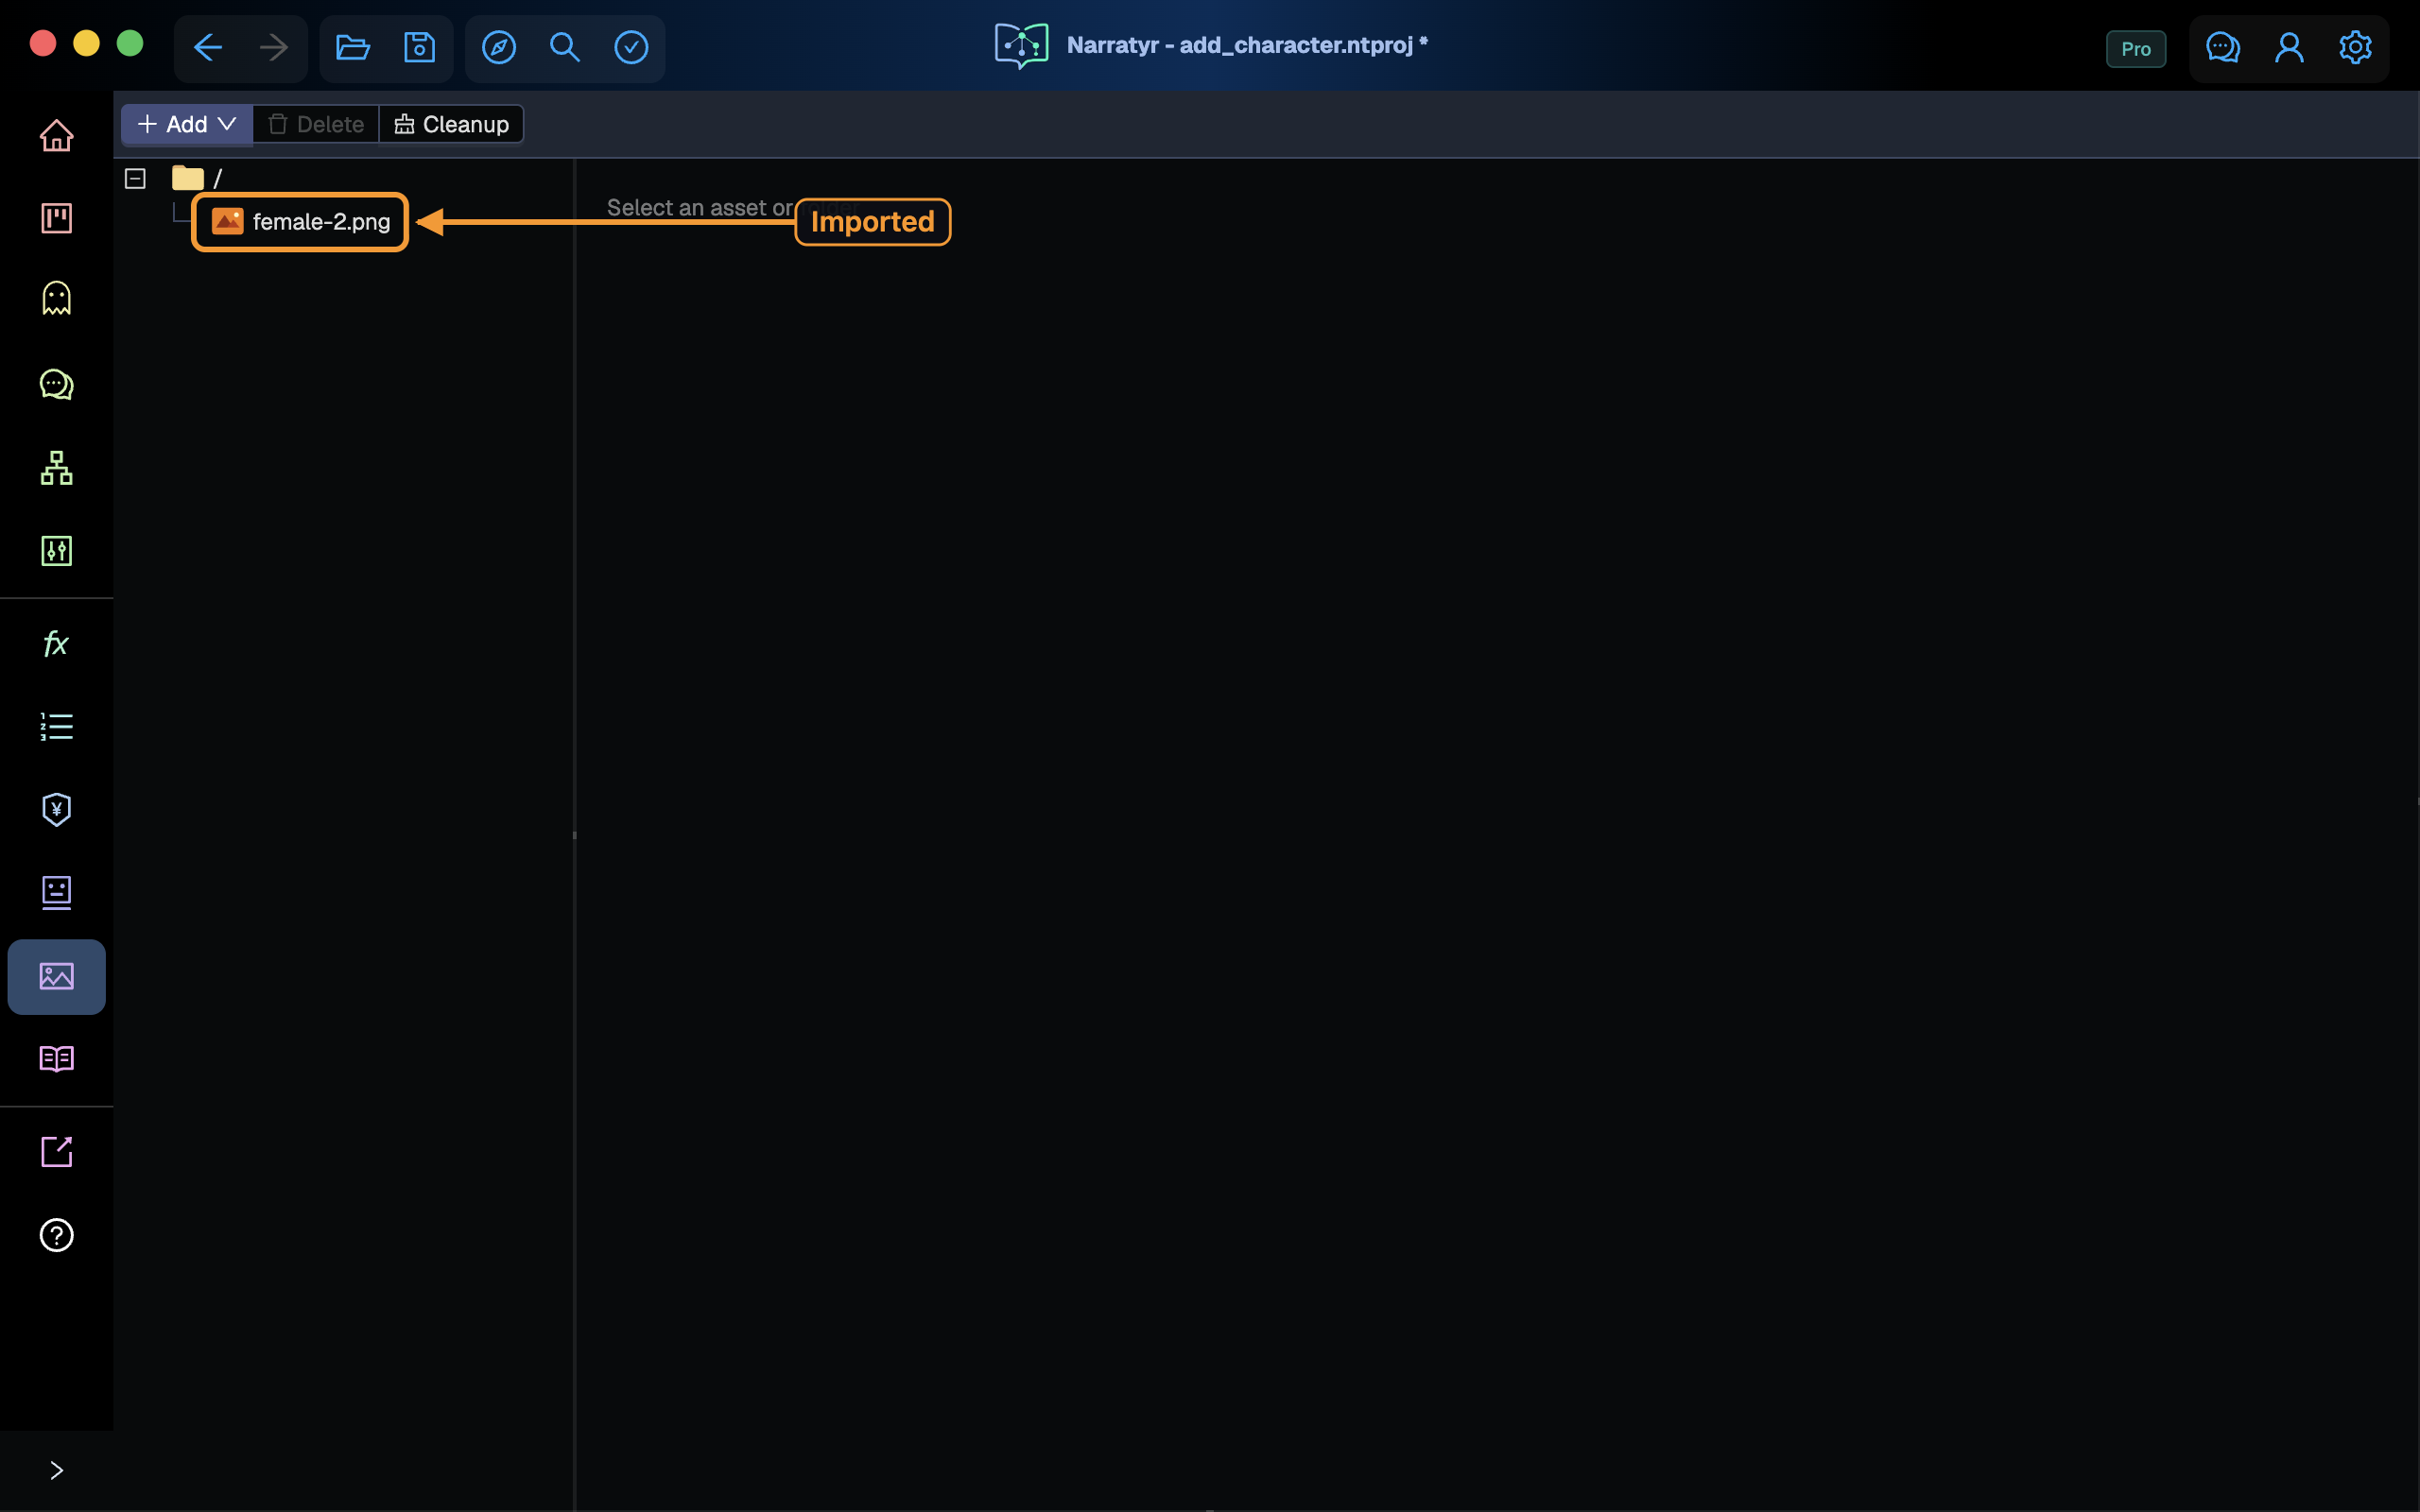
You can select several images before importing. Narratyr copies imported images into the project so they remain with its other files.
Assign the profile image
Return to Characters & Items and select the character. Open the image field at the top of the details panel, then select the imported image.
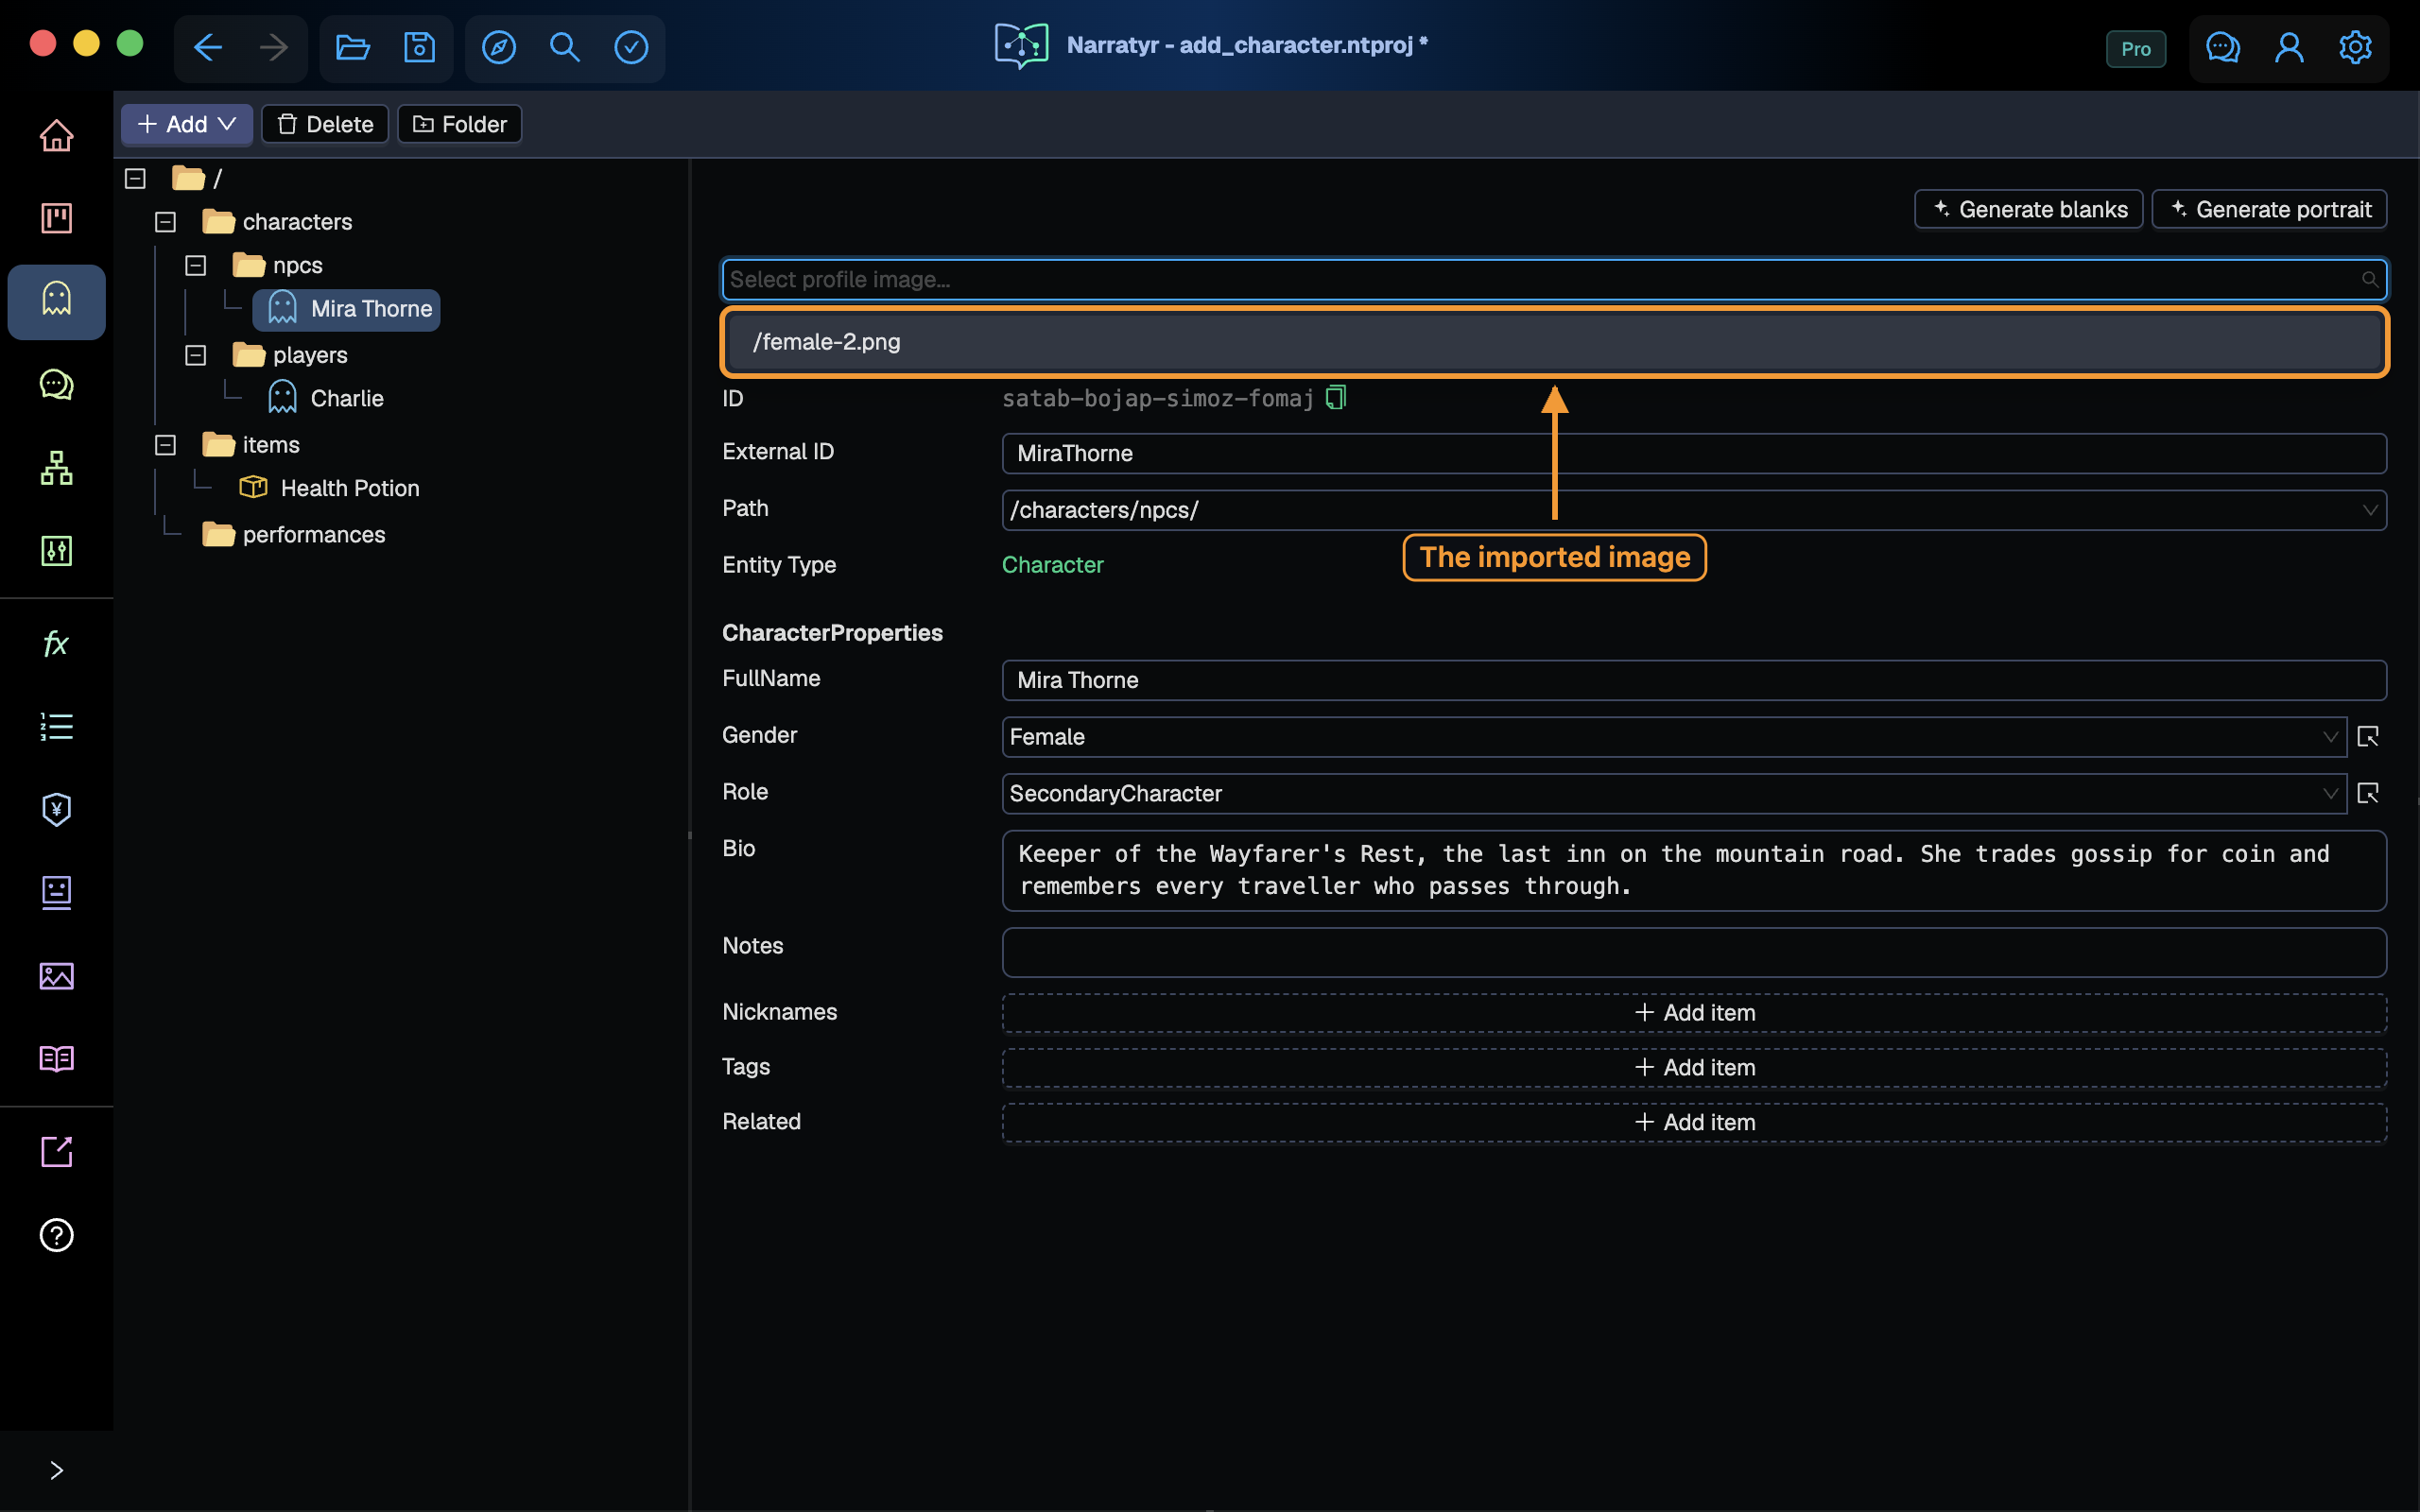
The portrait appears in the details panel and beside the character name in the tree.
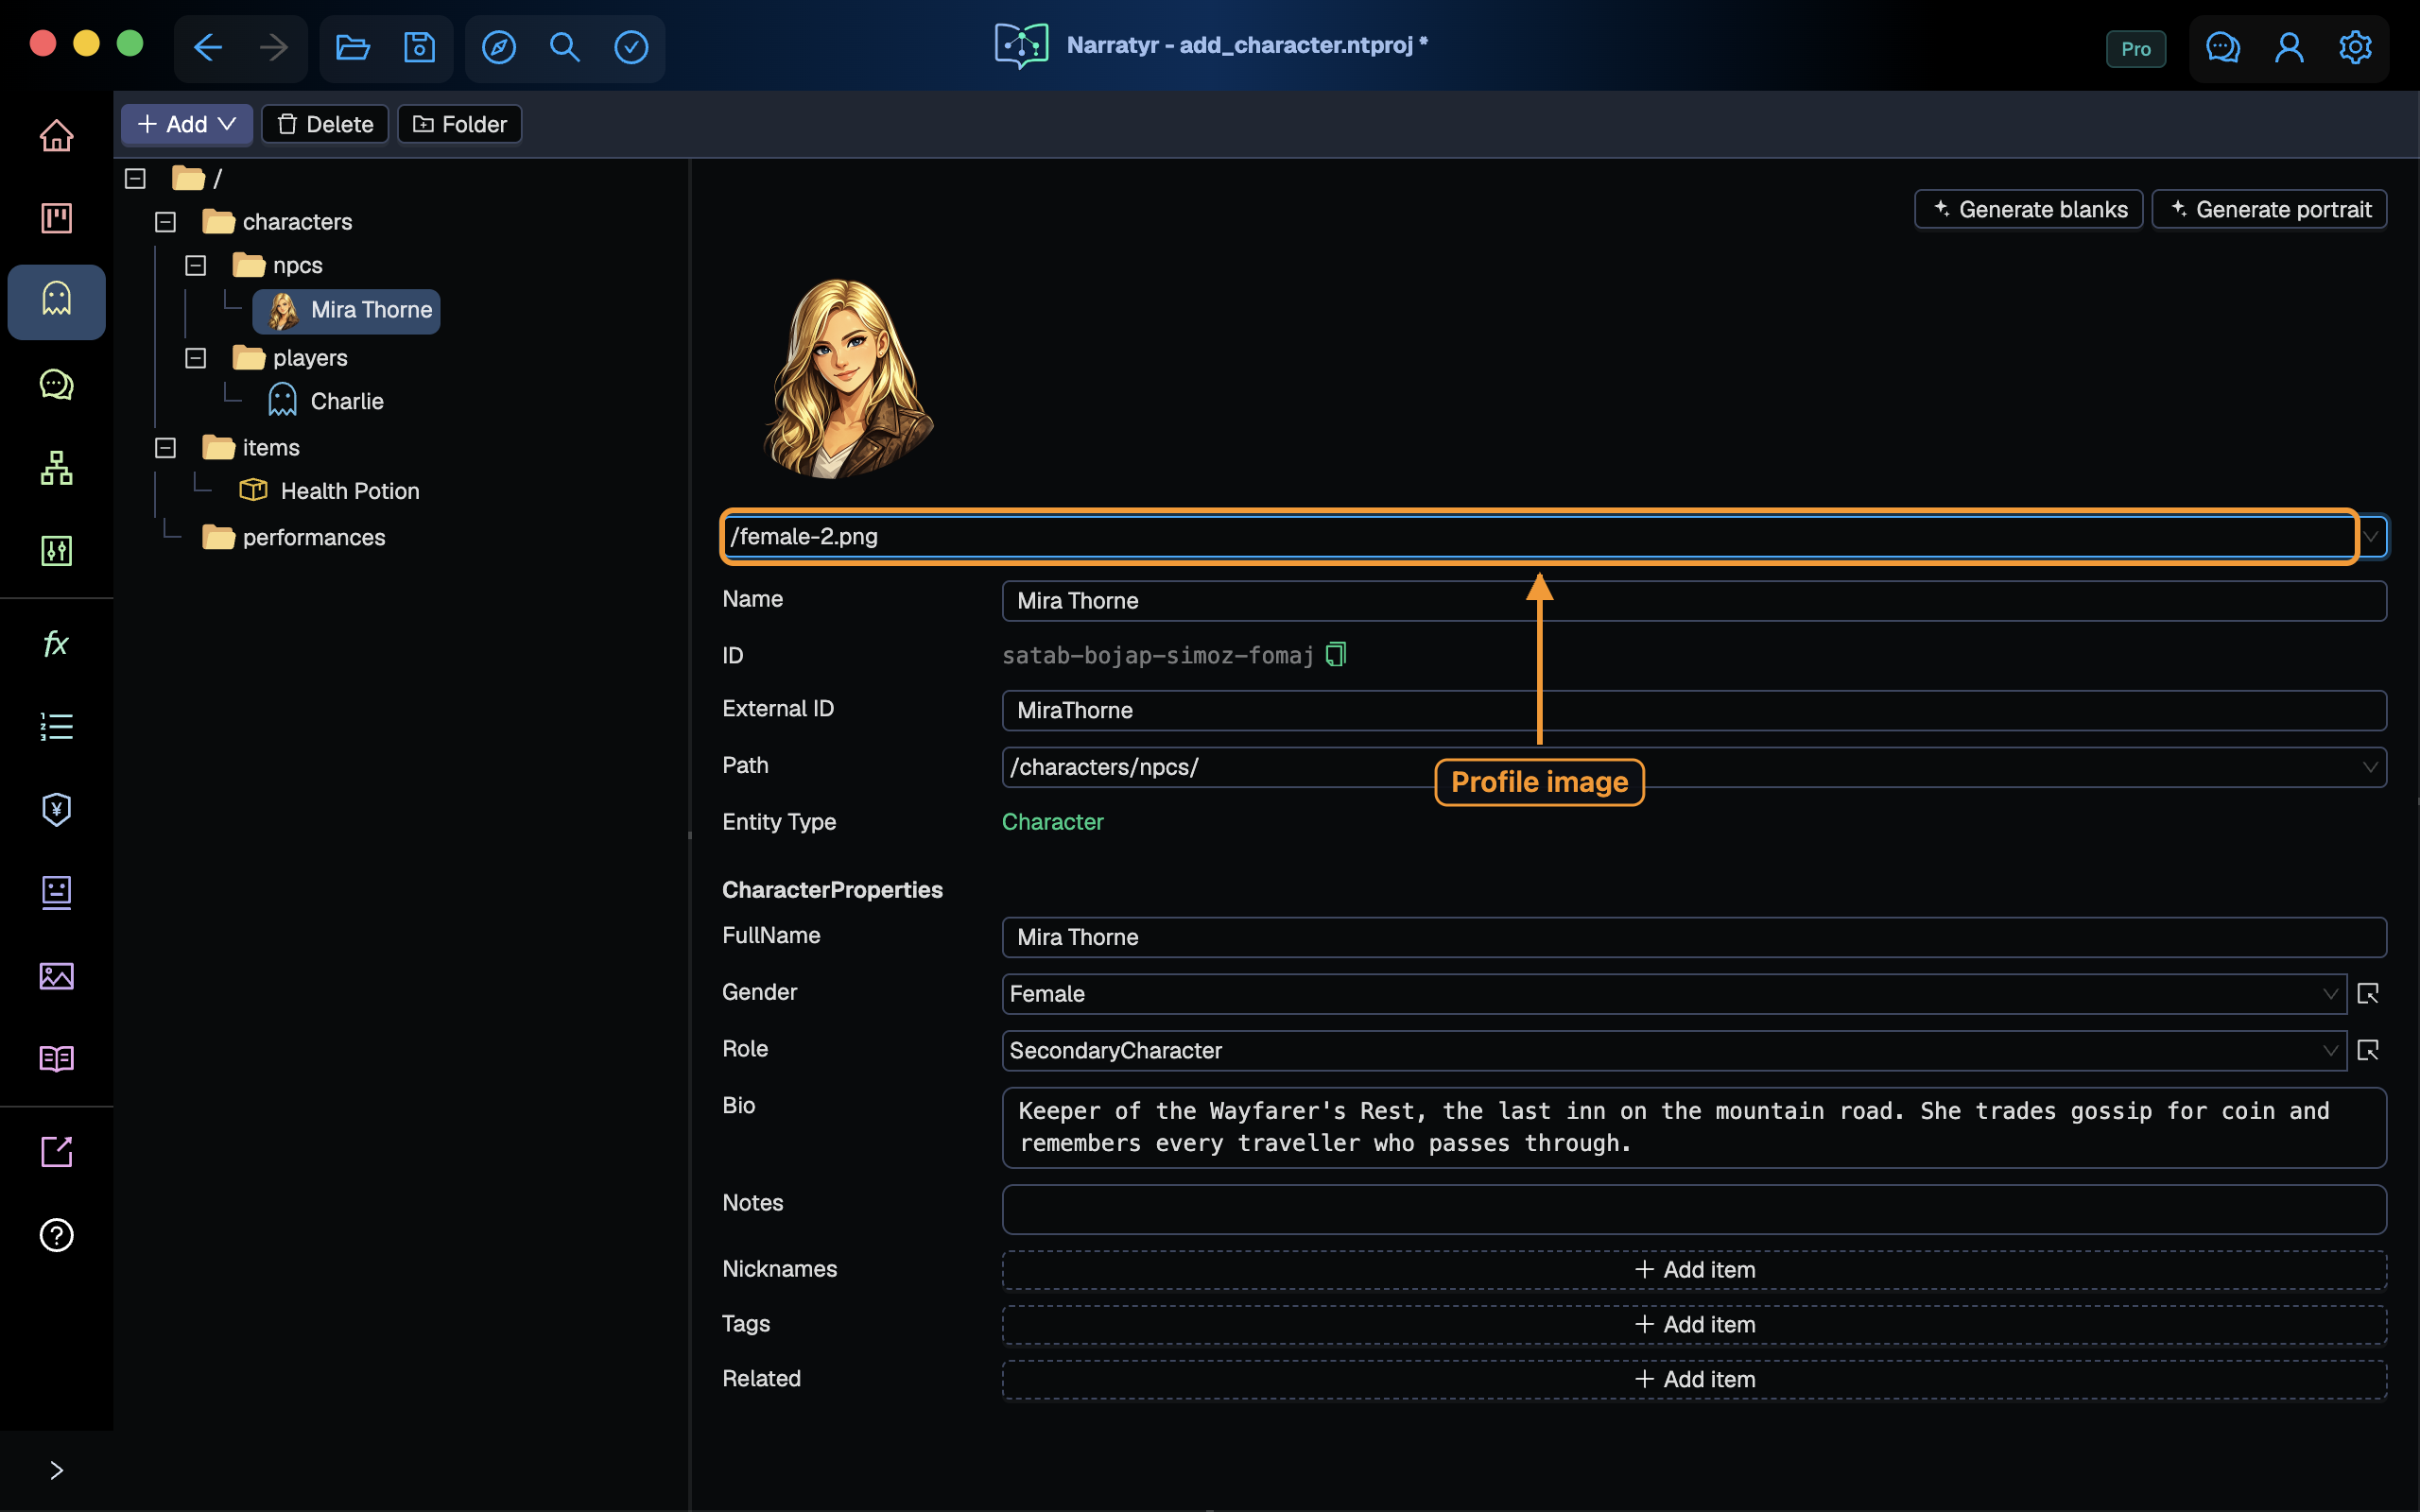
Select another image to replace the portrait, or clear the field to remove it.
Save the project
Creating a character changes the open project without immediately writing it to disk. Press ⌘S to save. An asterisk beside the project name indicates unsaved changes.